
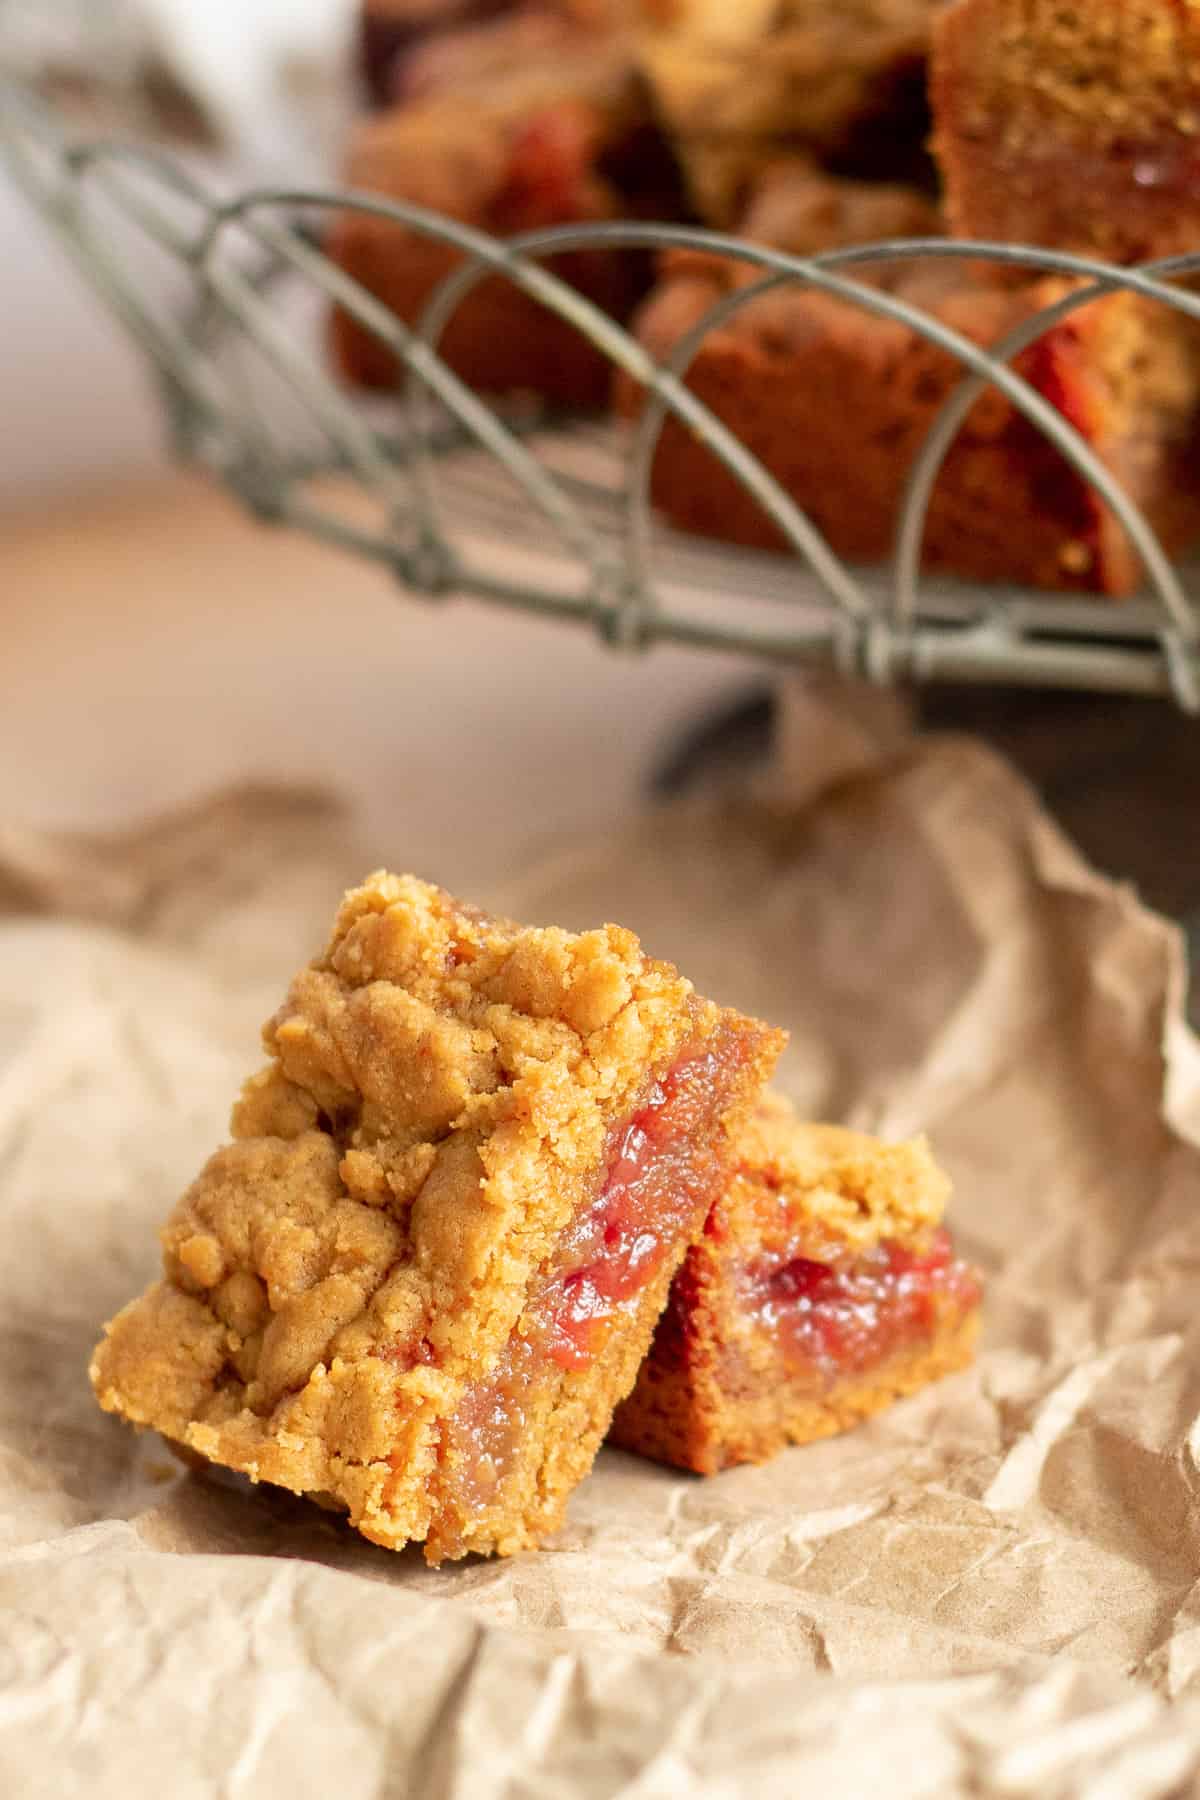
Oh boy, do I have a treat for you! These Peanut Butter Jelly Bars are full of the nostalgic and tasty combination of peanut butter and your favorite jam or jelly. They are dead simple to make, with a one-bowl prep and zero need to wait for softened butter. Soft and chewy, sweet and salty, they are an instant favorite.
Kids and grown-ups alike love these cookie bars because of their classic flavor. I especially love them for their versatility. Peanut Butter Jelly Bars make great after-school snacks, gifts for friends, and potluck treats, plus they are perfect for Saturday afternoon baking with the kids.
If you are looking to stock up the cookie jar with a few more treats, try these Orange Cardamom Cookies or Lemon Curd Thumbprint Cookies! These Soft Chocolate Chip Cookie Bars or Oatmeal Peanut Butter Cookies are great treat options, too!
Jump to:
Ingredients
I include ingredient notes here when I think they'll be helpful, including ways to source, any preparation tips, or why I've chosen a particular ingredient. Be sure to check out the recipe card below for the full list of ingredients and their quantities!
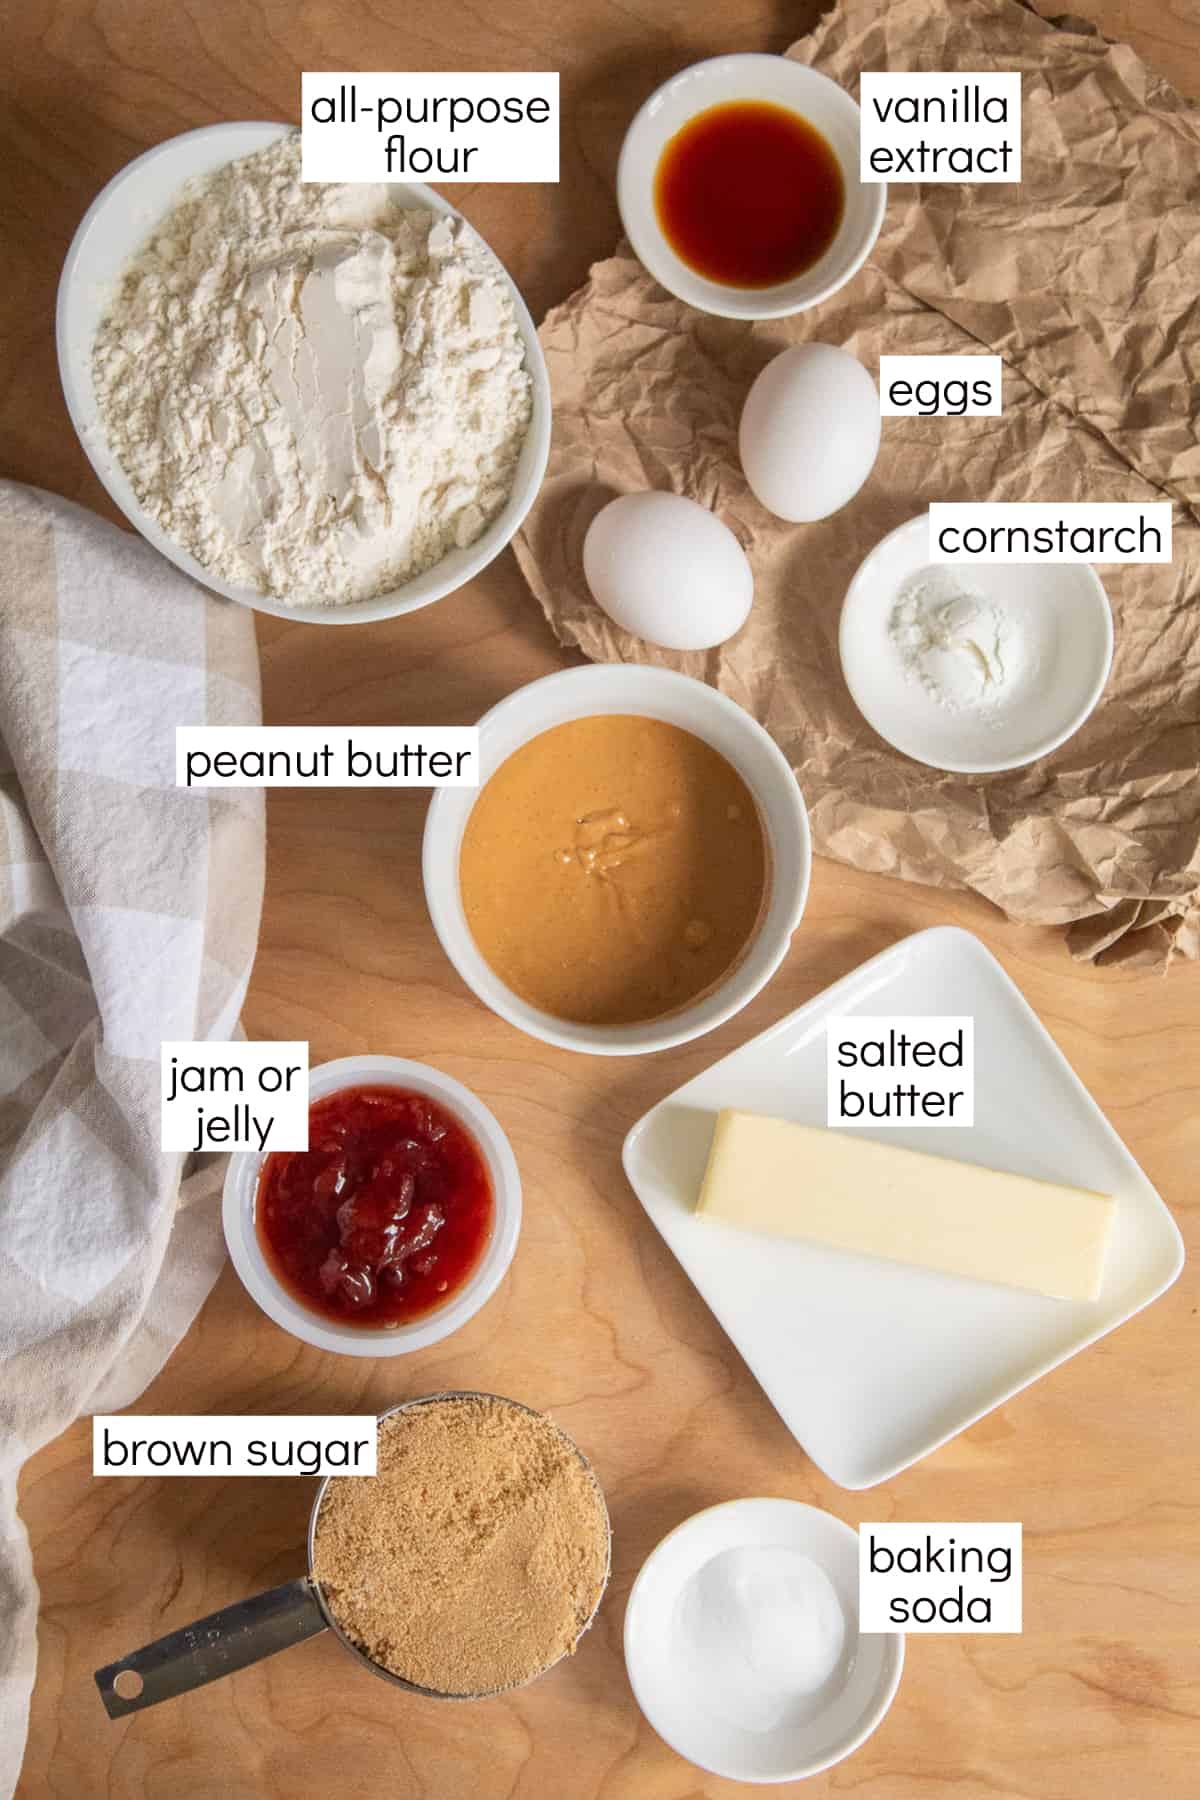
- Salted Butter: This recipe was developed with salted butter. If you use unsalted butter, add an additional ¼ teaspoon of salt to the wet ingredients in the dough mixture.
- Natural Peanut Butter: I use natural peanut butter for these bars because that is what we use daily. Using other peanut butter will work well, but gives you a crisper version of the bars. Choose smooth or chunky peanut butter, whichever is your favorite.
- Brown Sugar: Brown sugar sweetens the dough but also holds more moisture than white sugar and results in a soft cookie bar.
- Baking Soda: Just a bit of leavening helps give lift to the dough so that it's not too dense.
- Cornstarch: Adding cornstarch to the dough makes the bars extra soft and light.
- Jam or Jelly: I've made peanut butter jelly bars with all sorts of jams and jellies: blueberry, strawberry, and cherry. I think that homemade jams or jellies tend to be looser than store bought versions, so you'll have an extra gooey bar when you use homemade jam.
Instructions
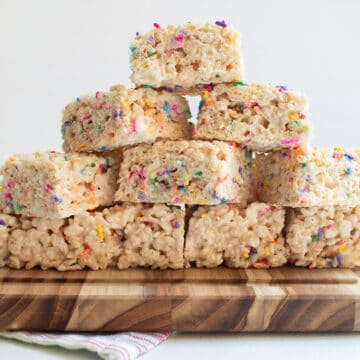
Preheat the oven to 325°F and line a 9" x 9" square pan with parchment paper. My favorite way to line a baking pan with parchment paper is described in this recipe for Brown Buttered Pecan Rice Krispie Treats.
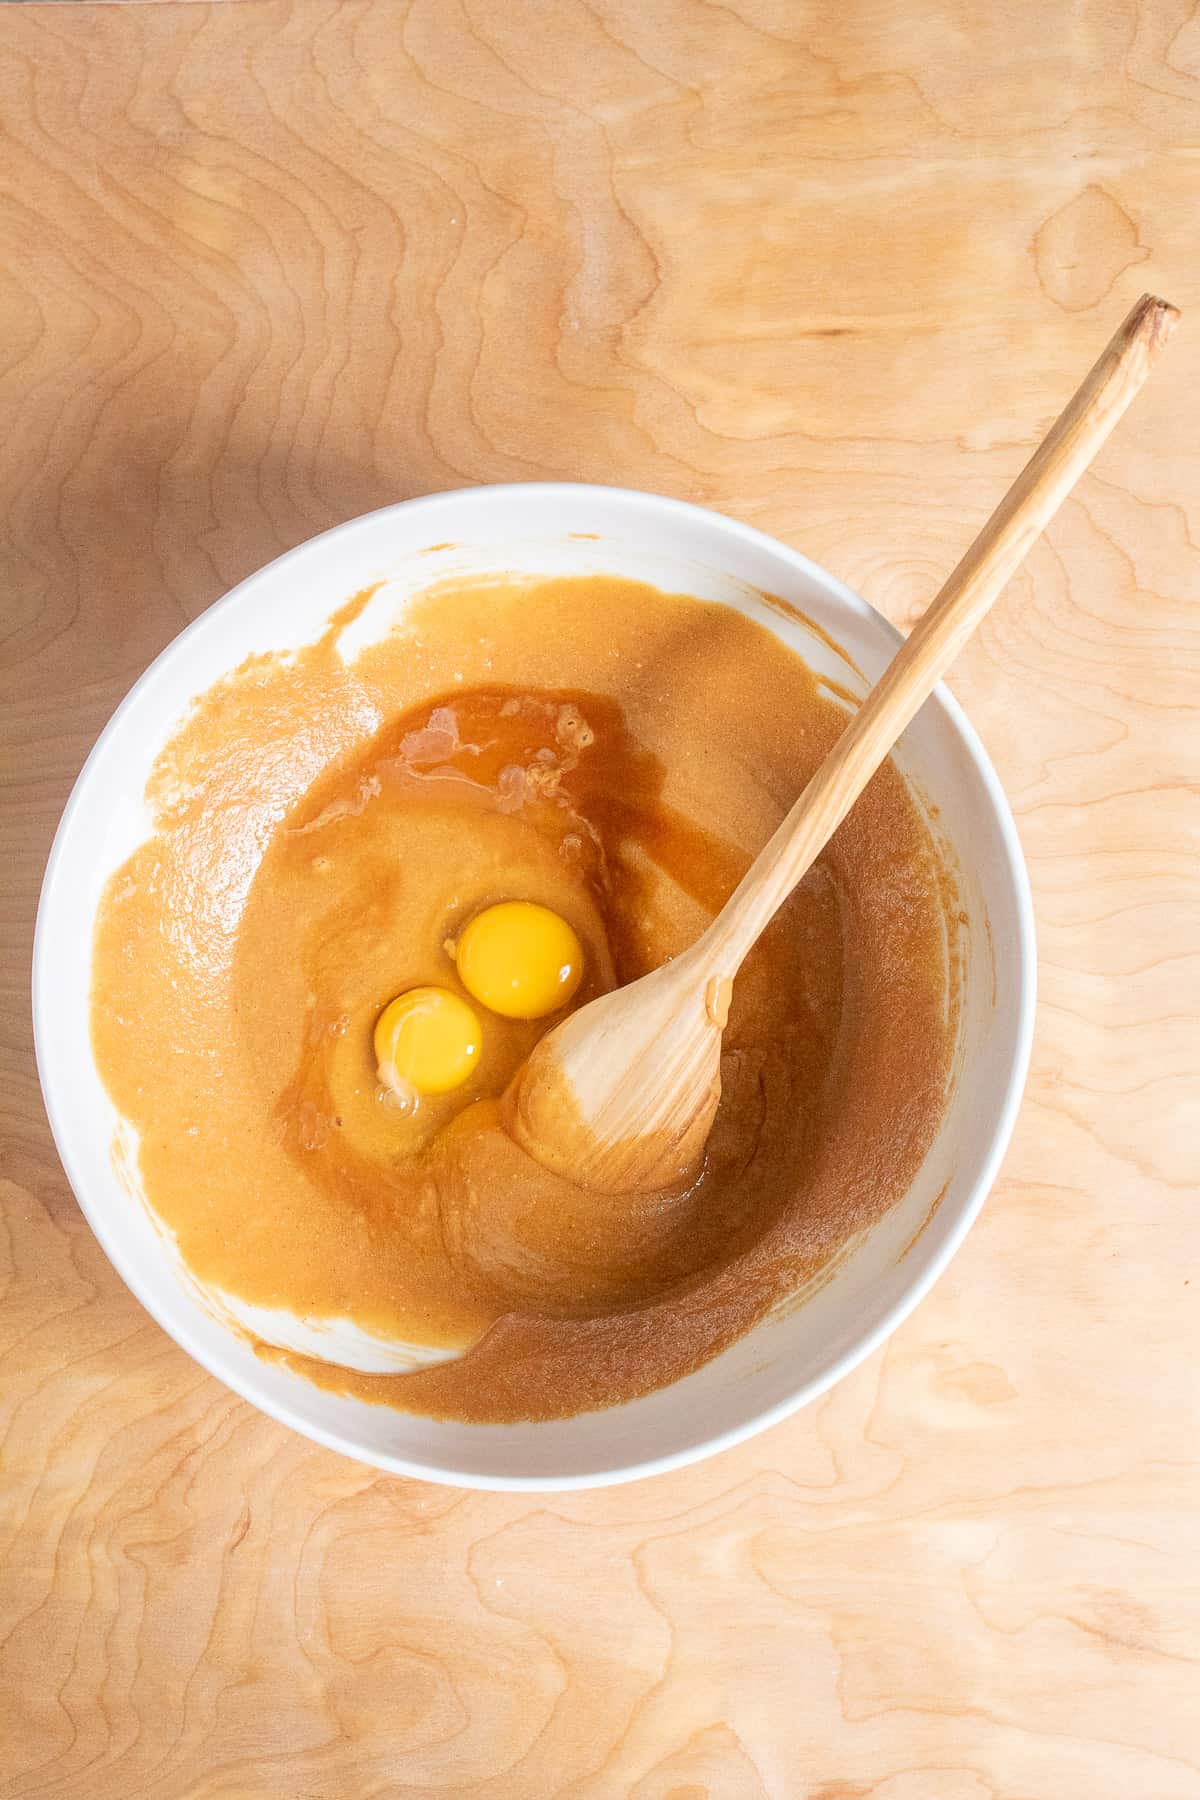
Use a large microwave-safe bowl and melt the butter in the microwave. Then stir in the peanut butter, brown sugar, eggs, salt, and vanilla until smooth.
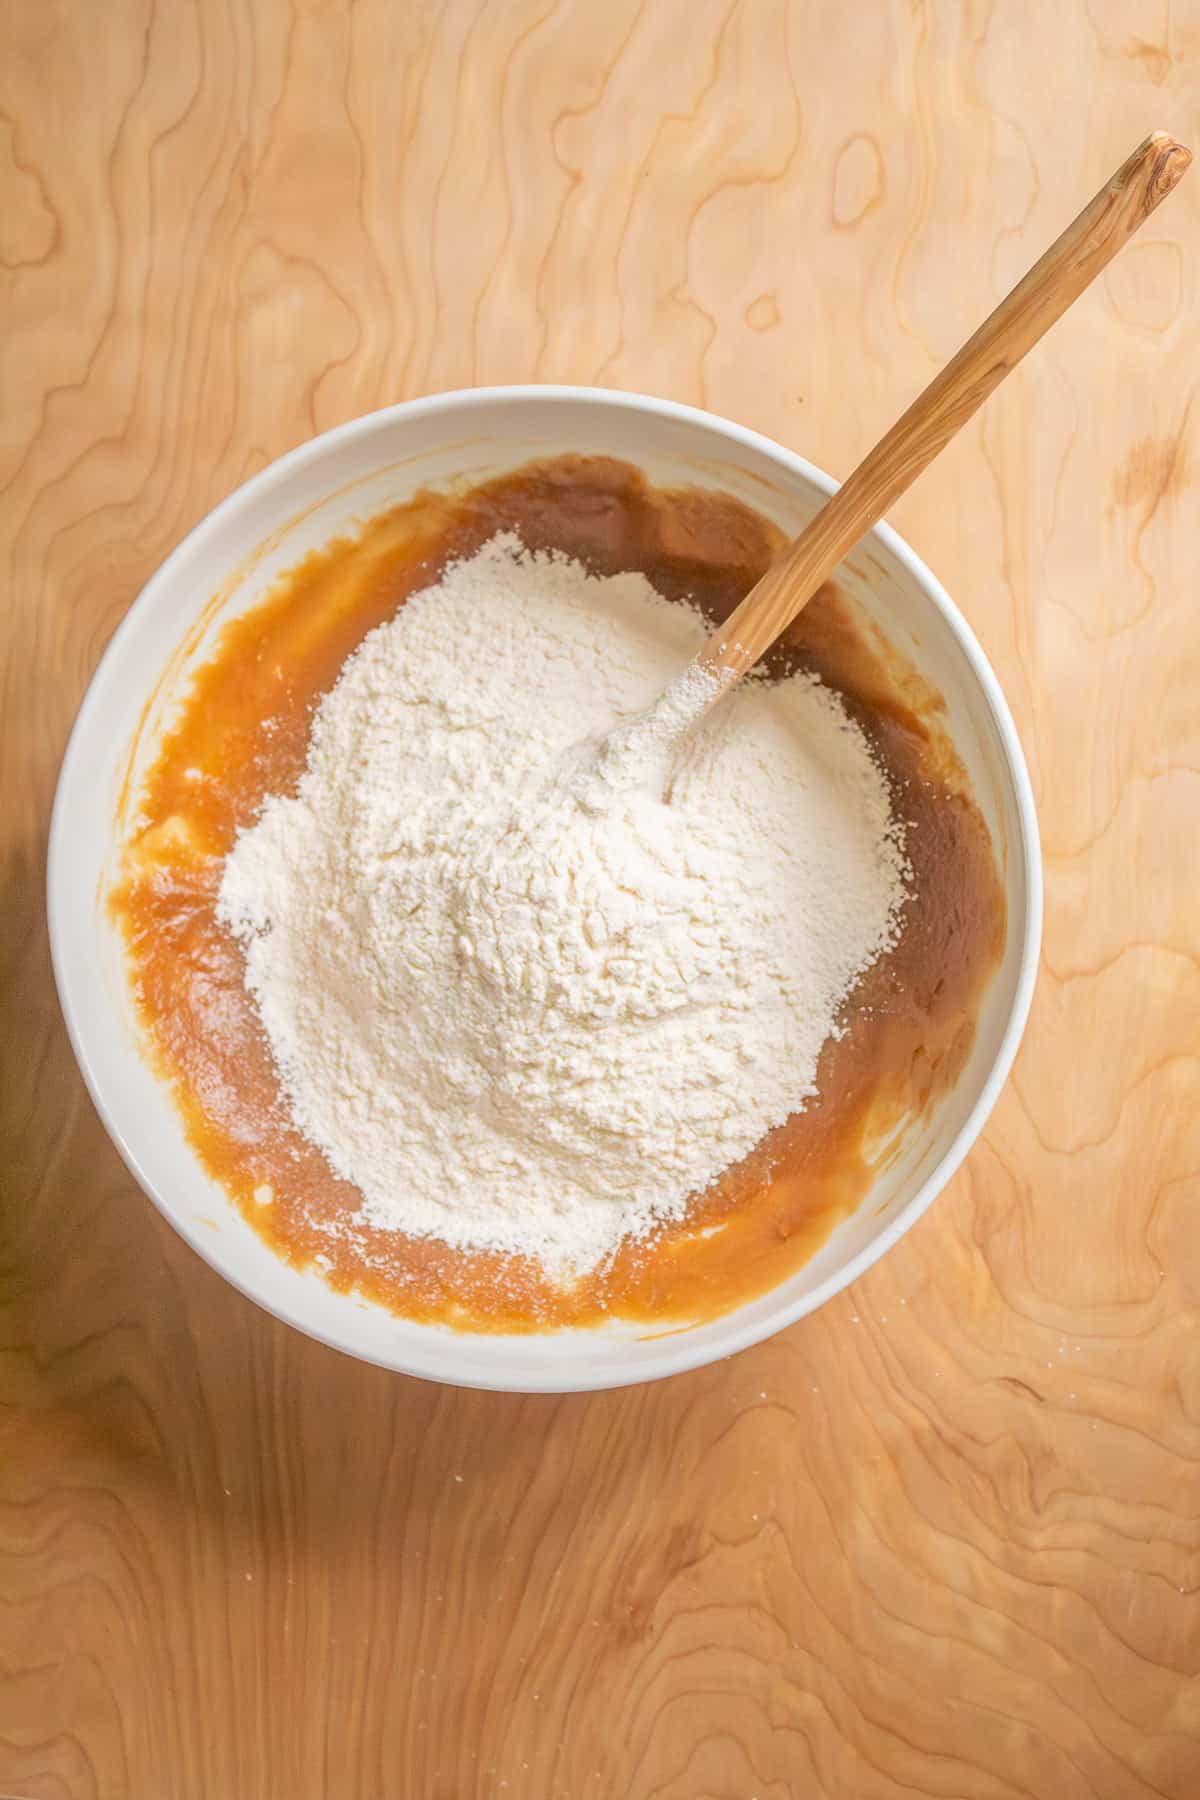
Sprinkle the flour, cornstarch, and baking soda right over the wet ingredients and give the whole thing a stir with a wooden spoon. It's a 30-second workout!
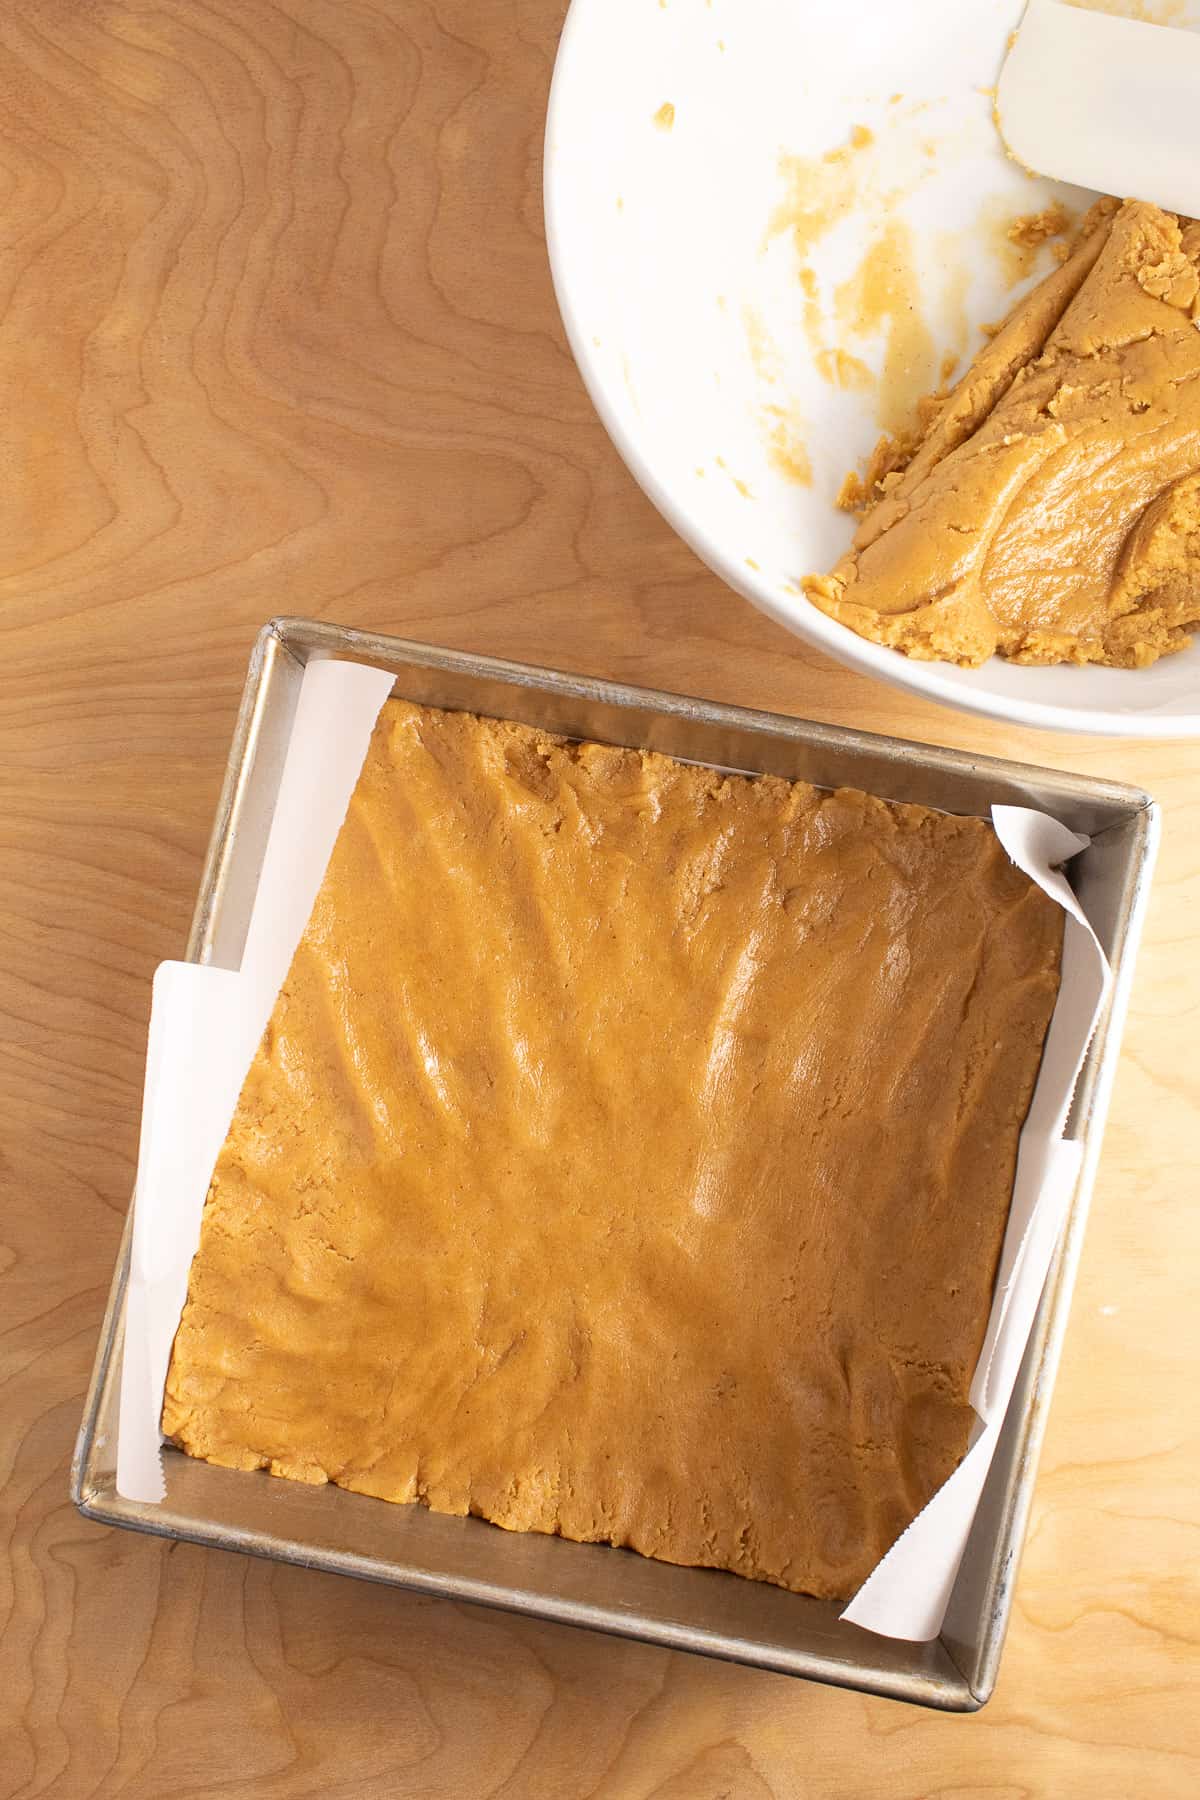
Press half of the dough in the bottom of the pan until you have an even layer.
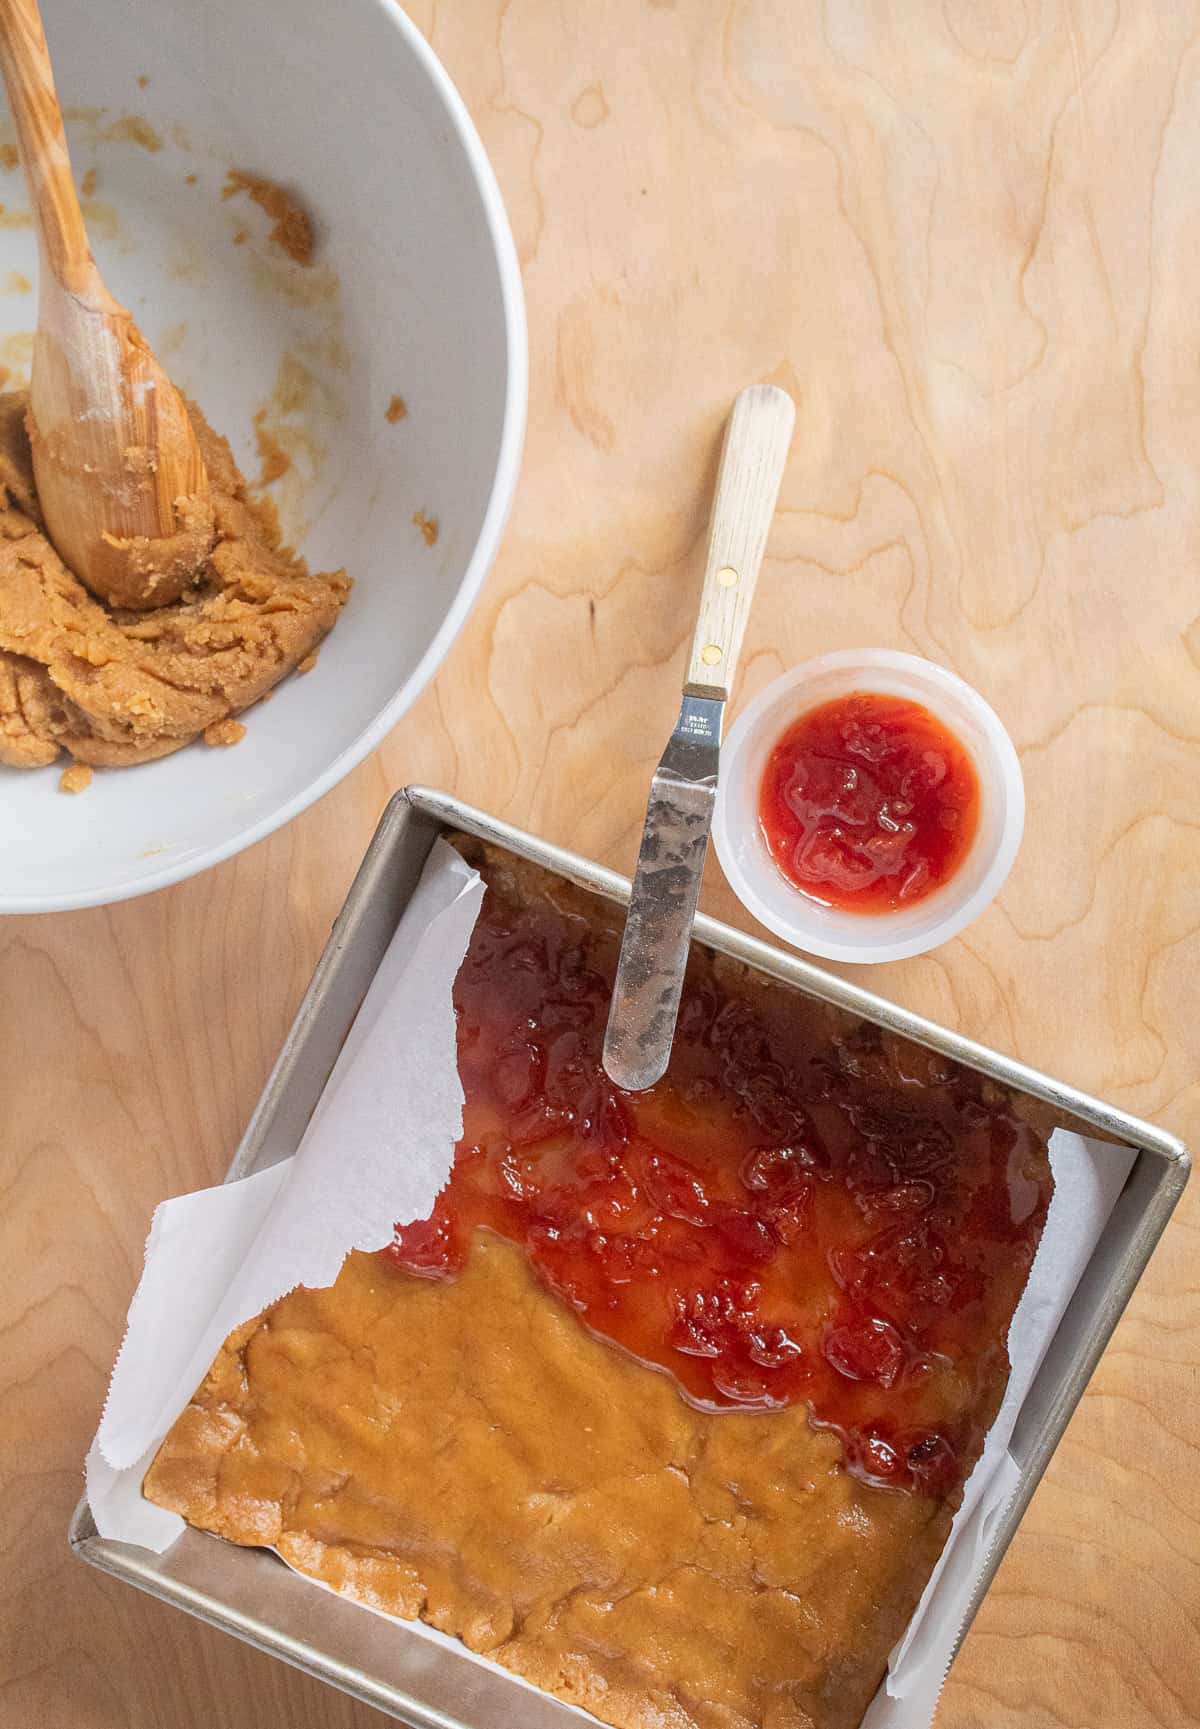
Spread the jam or jelly over the dough in an even layer and marvel over the pretty jewel-like color.
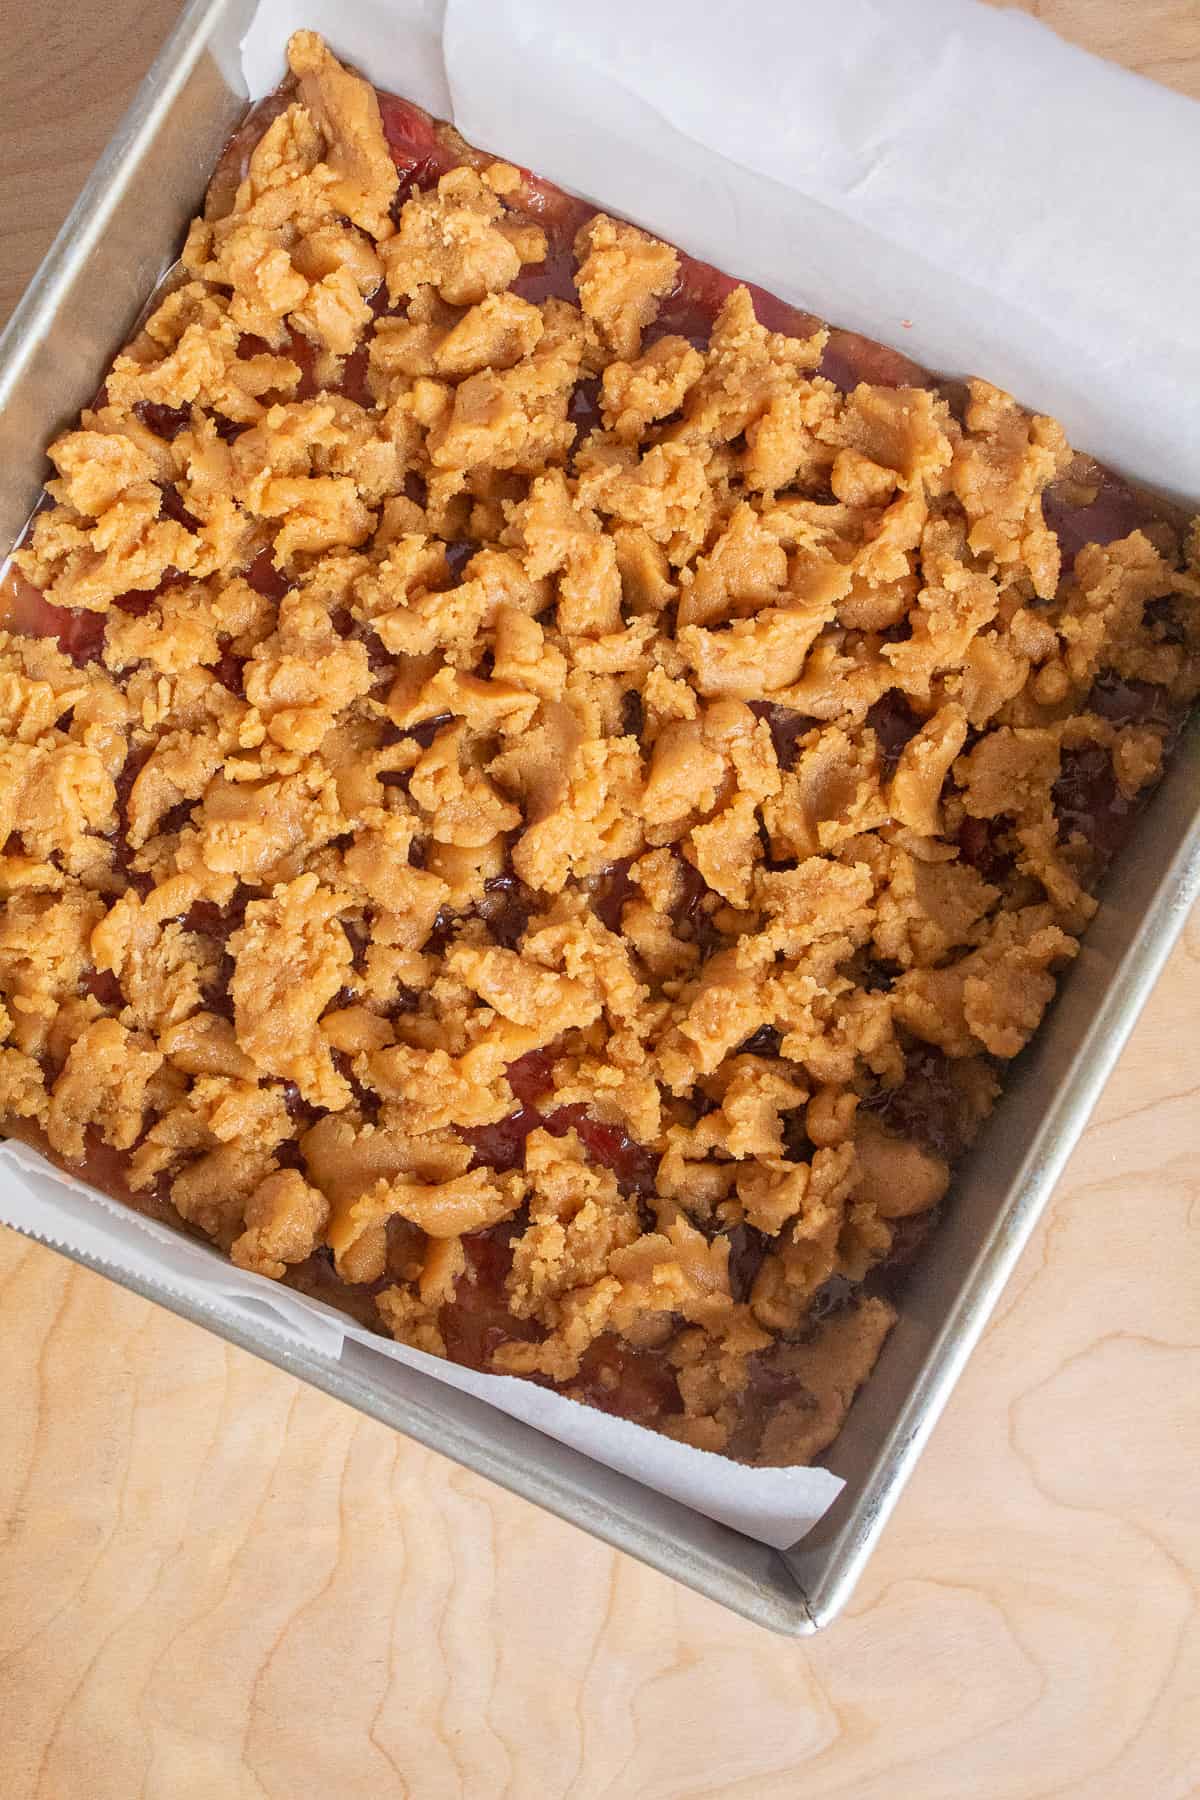
Crumble the second half of the dough over the top of the jam layer, making sure to evenly distribute the dough. Some spaces are fine, you don't need complete coverage. If you are a big fan of the salty and sweet combination, sprinkle a bit of extra kosher salt over the dough before baking.
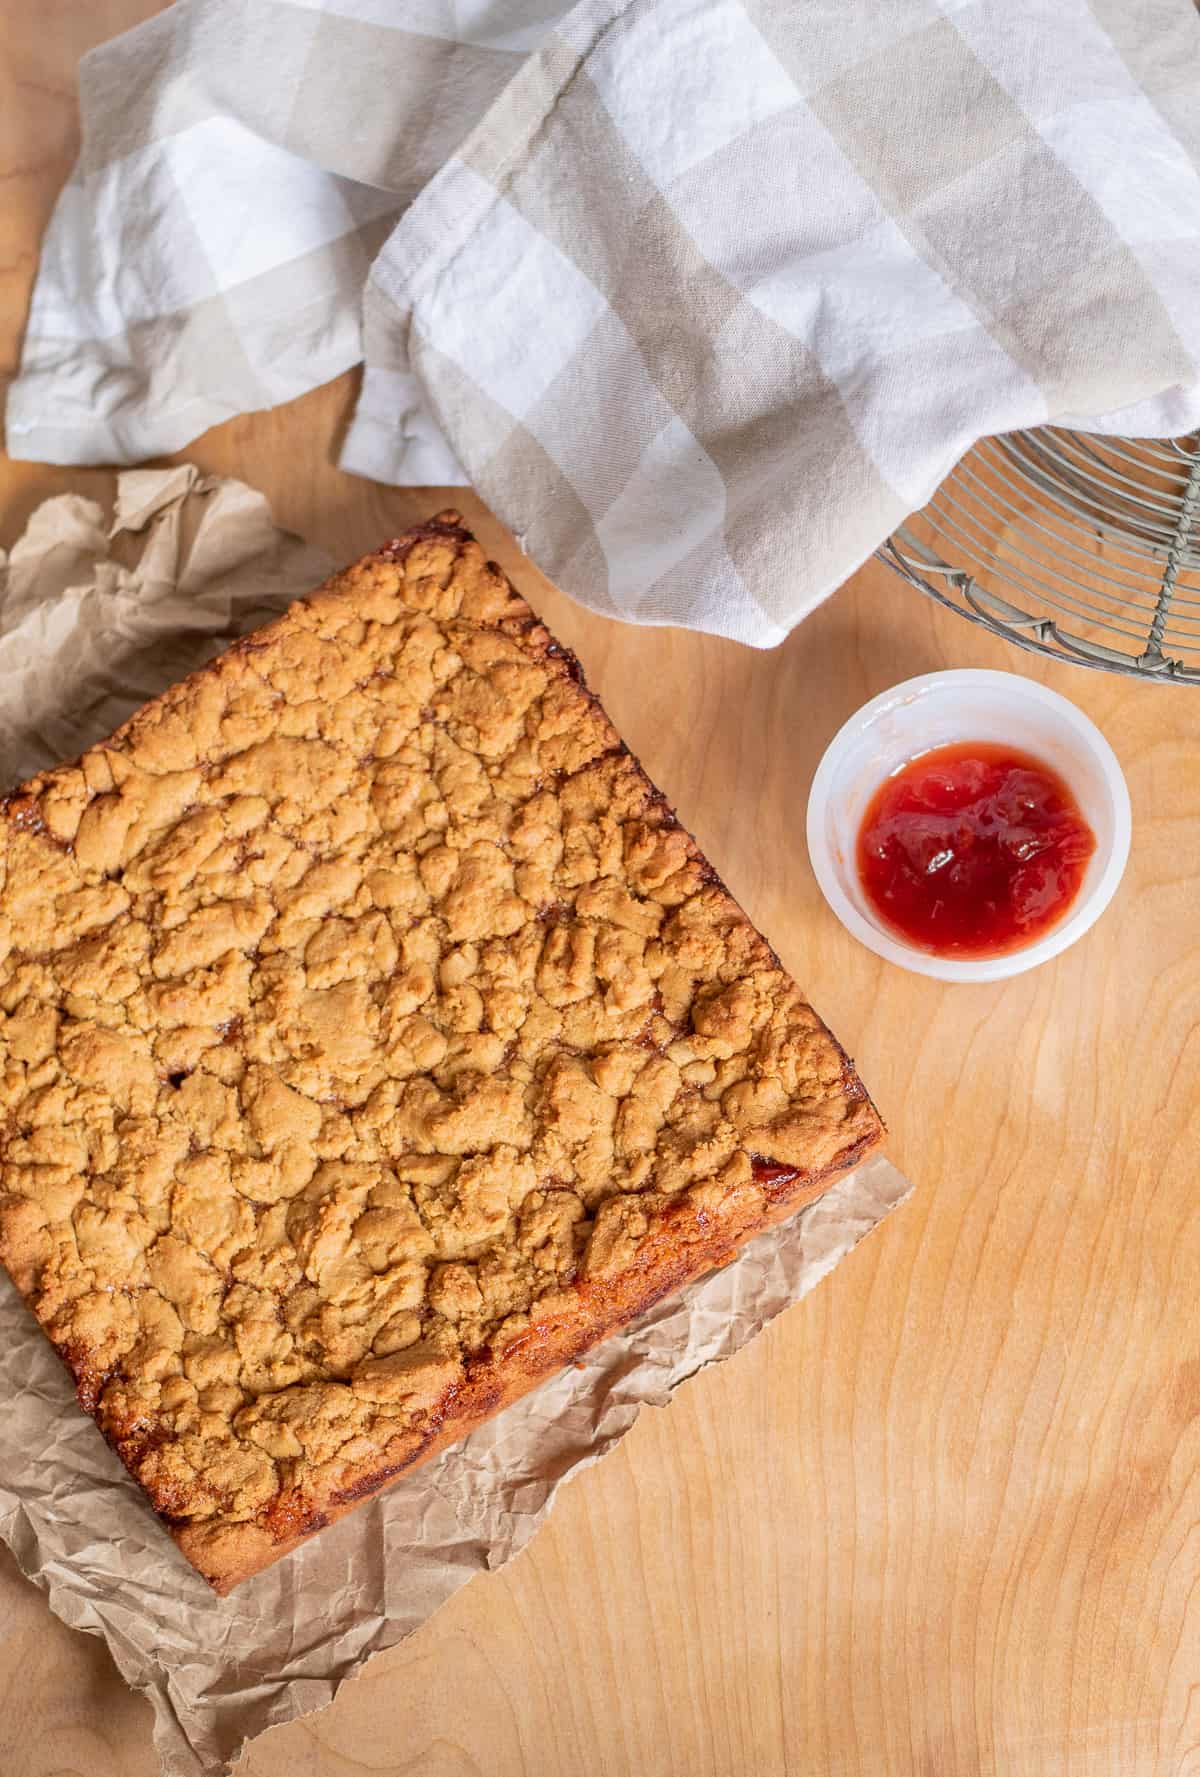
Bake for 30-33 minutes, until the edges are golden brown. Let the pan cool completely before you remove the bars, there will be a bit of additional cooking in the hot pan even once you remove it from the oven.
Substitutions and Variations
The substitutions listed below have been tested in this recipe and work well. If you successfully make any other ingredient substitutions, let us know in the comments!
- Add Chopped Peanuts: Roughly chop ½ cup of salted peanuts and sprinkle them over the top layer of dough before baking.
- Add Chocolate: Stir in ½ cup of chocolate chips to the dough for the top layer for a chocolate-studded bar.
- Add Oats: Add ½ cup of rolled oats to the dough for the topping and mix well before crumbling over the jelly layer.
Add Shapes!
This peanut butter dough can be frozen to allow for cutting shapes from the top of your bars! Stars, circles, or hearts can be fun all year round. Use small cookie cutters or a sharp paring knife to cut shapes for a twist on these peanut butter jelly bars.
After you press the bottom layer of dough into the pan, freeze the pan with the dough for about 15 minutes. Transfer the cold dough with the parchment "sling" to a cutting board and then peel the dough off of the paper.
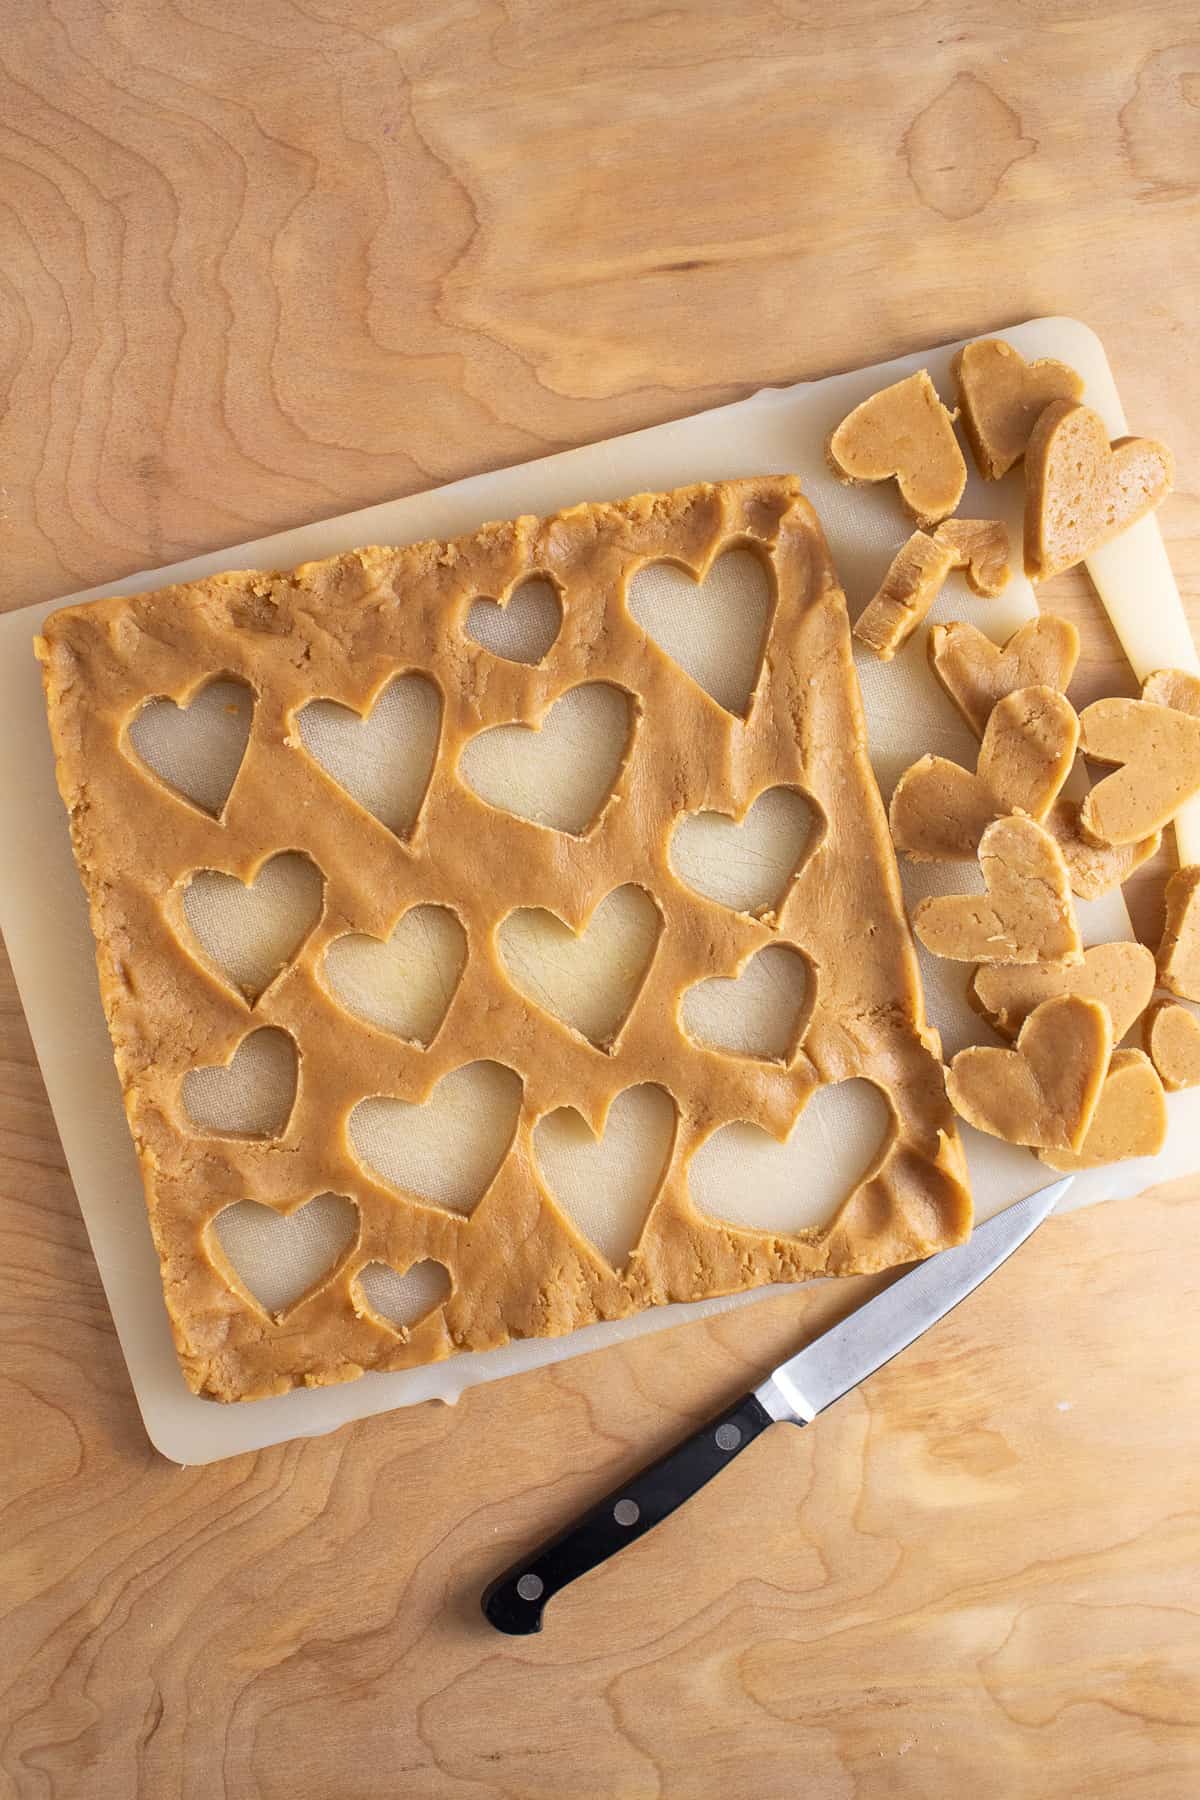
Cut or slice shapes in the dough and then chill the dough in the freezer (right on the cutting board) once more for about 10 minutes. While the dough is chilling, add the parchment paper back to the pan and press the remaining half of the dough into the bottom of the pan again. Cover the dough with the jelly.
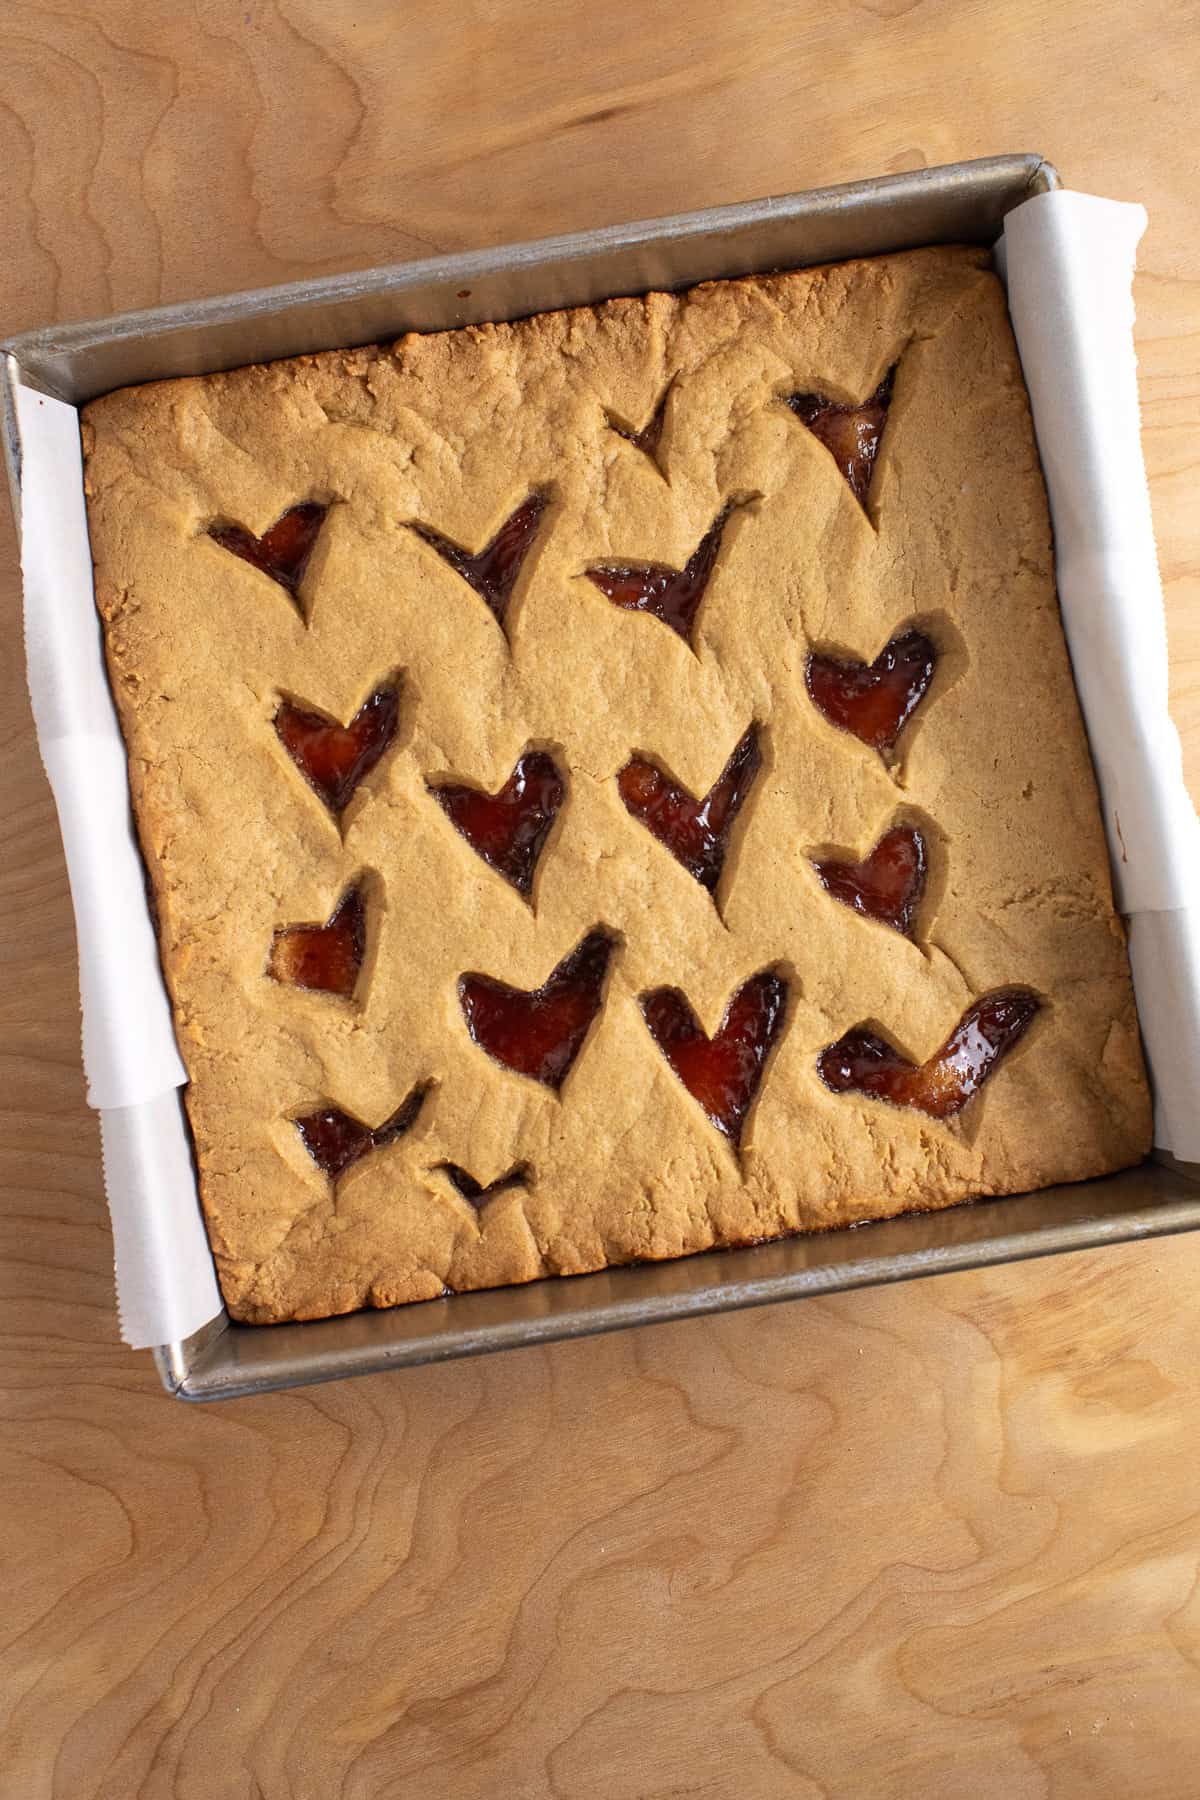
Remove the dough from the freezer and it should be solid enough to gently place it right over the jelly layer. Bake as directed in the recipe card. If you'd like to bake the cookie cutouts, add them to the oven on a separate sheet pan after about 18 minutes of baking time. They will bake up as mini peanut butter cookies by the time the bars are ready.
Serving Suggestions
Cool the bars in the pan completely before running a knife around the edges to separate any stuck bits. Lift the whole thing out and transfer it to a cutting board using the parchment paper as a sling. I usually cut these peanut butter jelly bars into 16 servings, but I've stretched it to 25 servings as well and no one complained.
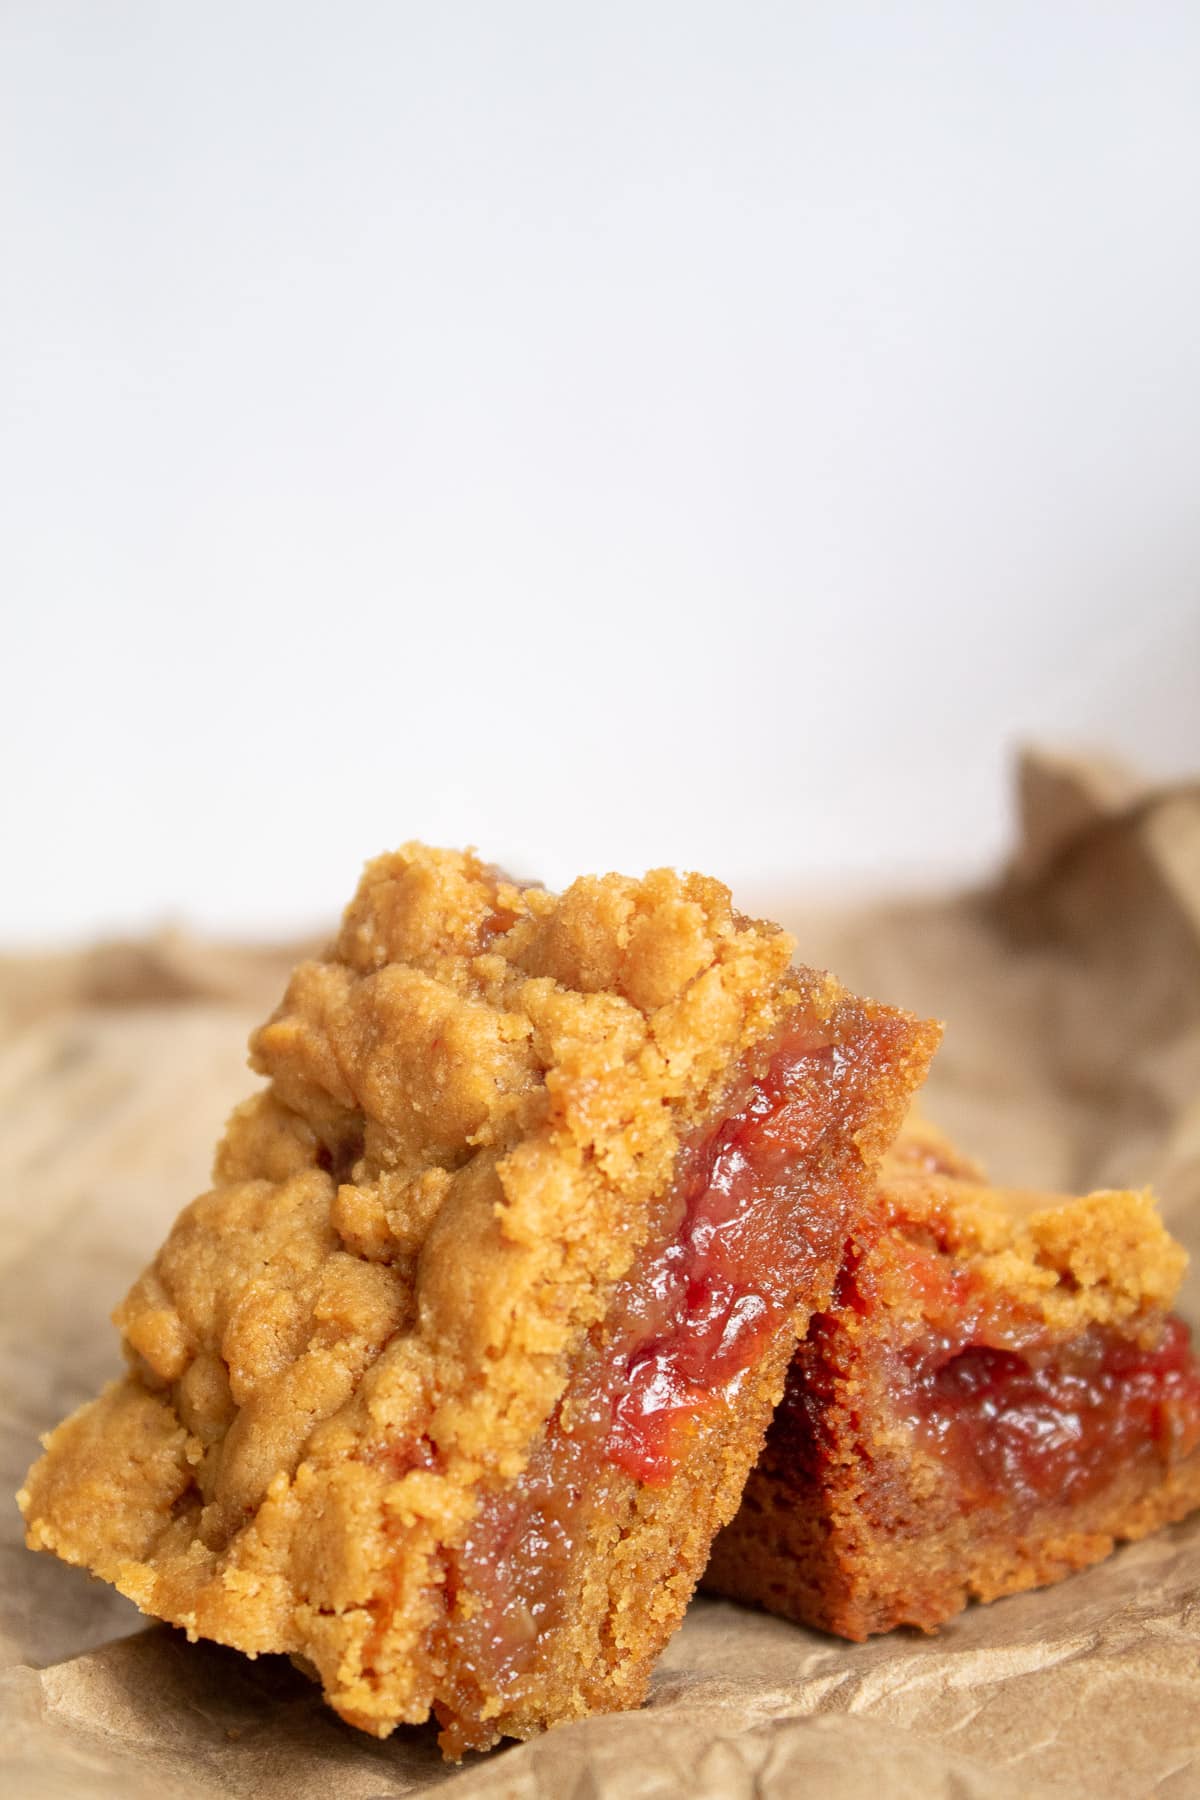
My daughter and I fight over the corner pieces because we are the clever ones that like that caramelized edge. The center bars are gloriously gooey and soft, so no one is losing out there, either.
Equipment
This recipe was developed using a 9" x 9" pan. You can use an 8" x 8" pan as well, but add an additional 5-7 minutes to the baking time to ensure the center of the bars is cooked through.
Storage
I store these bars in an airtight container at room temperature for up to five days with no issue (except that they don't usually last that long). If you'd like to freeze your peanut butter jelly bars, slice them first and then wrap in a layer of plastic wrap followed by a layer of foil. Simply thaw the whole package on the countertop overnight and enjoy them the following day.
I often make the bars and freeze half for a treat later on. A frozen batch of these would make a great gift for a friend in need of a pick-me-up!
FAQ
Yes, if you double the recipe it can be baked in a 9" x 13" pan. The bars will be thinner than what you see pictured here, so reduce the baking time by 5-7 minutes. Check for golden edges and that the center of the bars is dull, not shiny.
Use grape, strawberry, cherry, blueberry, mixed berry, raspberry, or blackberry jelly OR jam in these cookie bars. Anything you'd love on a peanut butter and jelly sandwich will work here!
More Bars to Enjoy
Throwing together a batch of cookie bars cuts prep time down (no rolling, no scooping!). Here are some other dessert bar recipes for you to check out:


Try Them and Share
I hope you try these Peanut Butter Jelly Bars and become the hero among the neighborhood kid crew. I want to see your results! Tag your photo with #planeatpostrepeat and mention me @planeatpostrepeat on Instagram or Facebook. I can give you a virtual high five and thank you for cooking one of my recipes! Comment below with any questions and please leave a review so others can find this recipe more easily.
Recipe

Super Easy Peanut Butter Jelly Bars
Ingredients
- ½ cup salted butter (melted)
- ¾ cup natural peanut butter (smooth or chunky, your choice)
- 1 cup brown sugar (packed)
- 2 large eggs
- ½ teaspoon kosher salt (plus more for topping, if desired)
- 2 teaspoon vanilla extract
- 2 cups all-purpose flour
- 1 teaspoon baking soda
- 1½ teaspoon cornstarch
- 1 cup strawberry jam (sub any flavor jam or jelly)
Instructions
- Preheat the oven to 325°F and line a 9" square pan with a sling of parchment paper.
- Melt the butter in a large, microwaveable bowl.
- Stir in peanut butter, brown sugar, eggs, salt, and vanilla until smooth.
- Sprinkle the flour, baking soda, and cornstarch over the top of the peanut butter mixture. Mix all ingredients together until combined.
- Press half of the peanut butter mixture into the bottom of the pan into an even layer. Spread the jam or jelly over this layer with an offset spatula.
- Crumble the remaining dough over the top of the jam to create an even top layer. Sprinkle with additional kosher salt, if desired.
- Bake the bars for 30-33 minutes, until golden along the egdes. Cool the bars completely in the pan.
- Run a knife along the edges of the pan and lift the bars out and on to a cutting board. Slice into 16 bars and store in an airtight container.
Nutrition facts are sometimes provided below and are calculated using an online calculator. With specific brands of ingredients and additions, omissions, or substitutions the nutrition facts may change. We encourage you to use your own nutrition facts calculator to obtain the most accurate nutrition facts for your meal.


I'd love to hear your thoughts!