
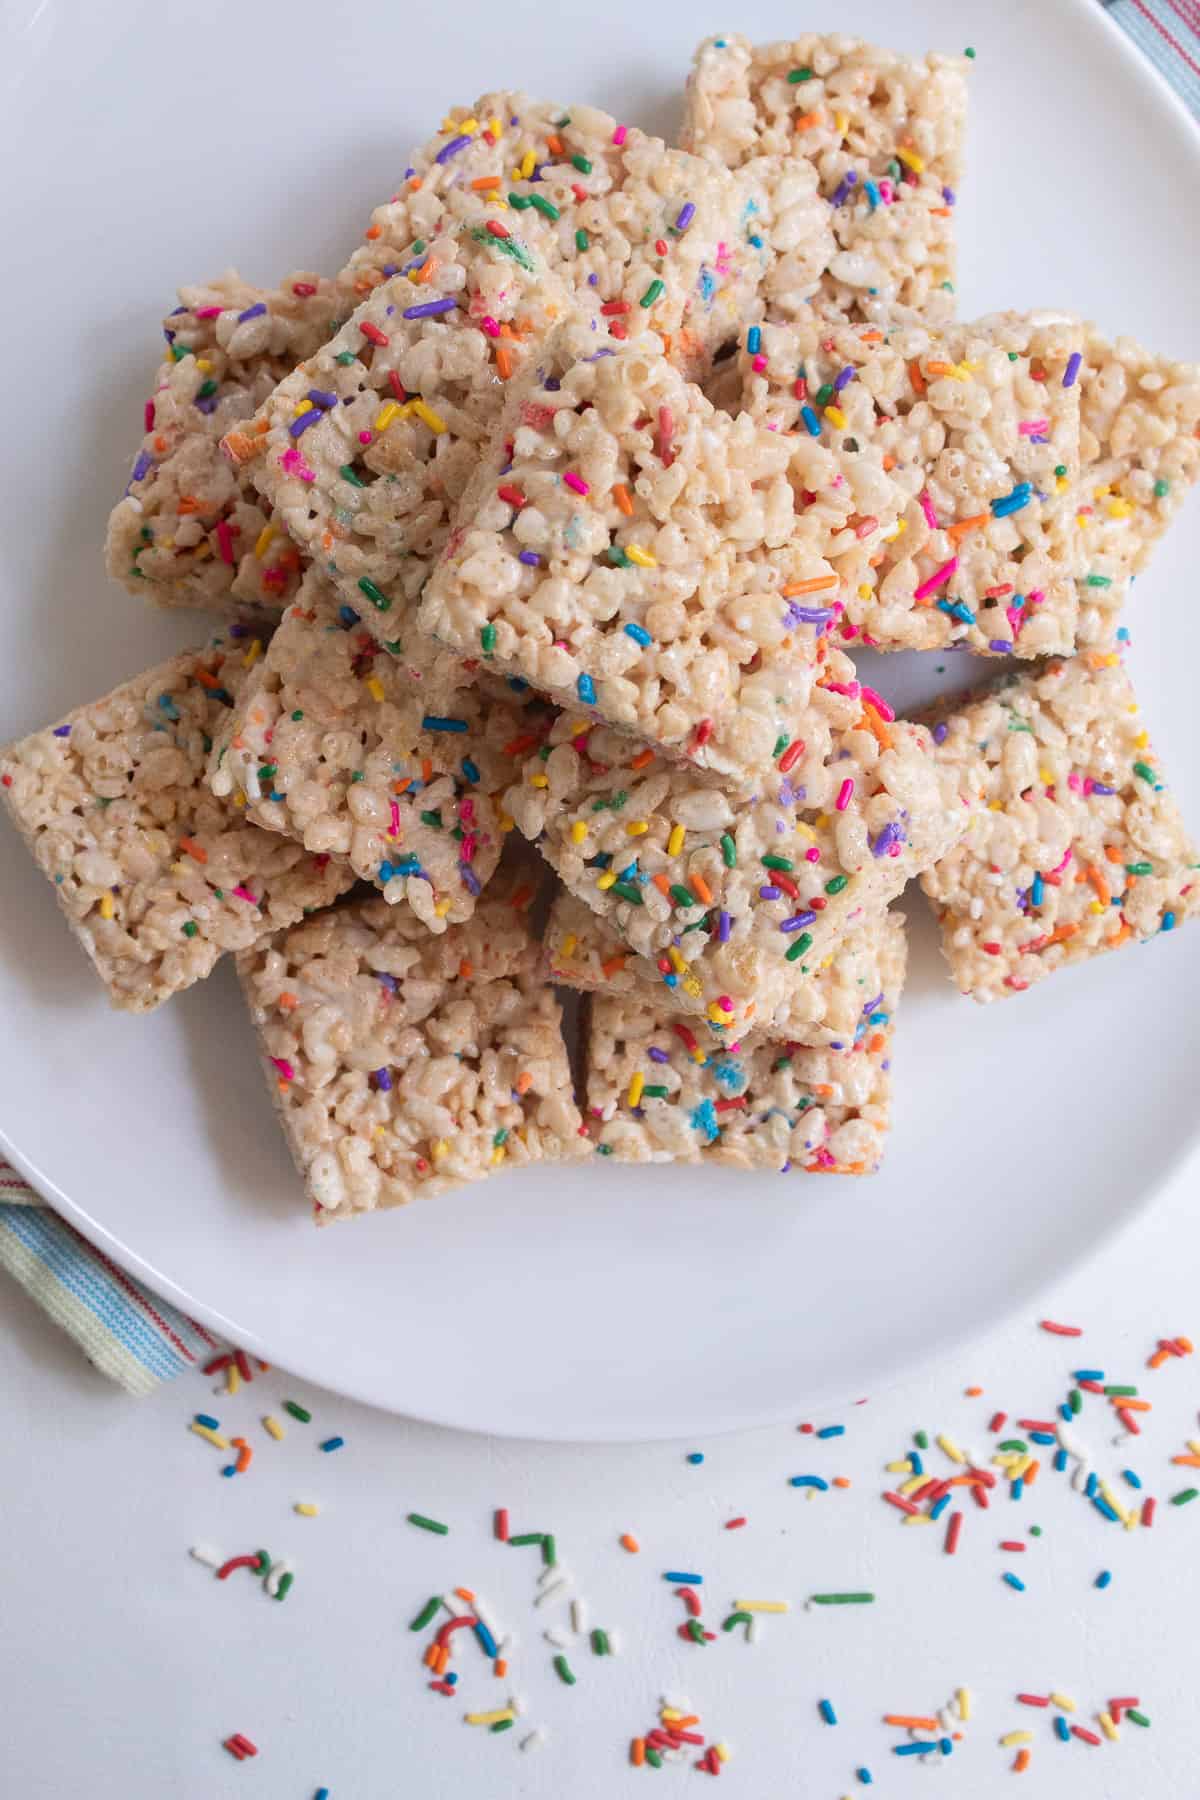
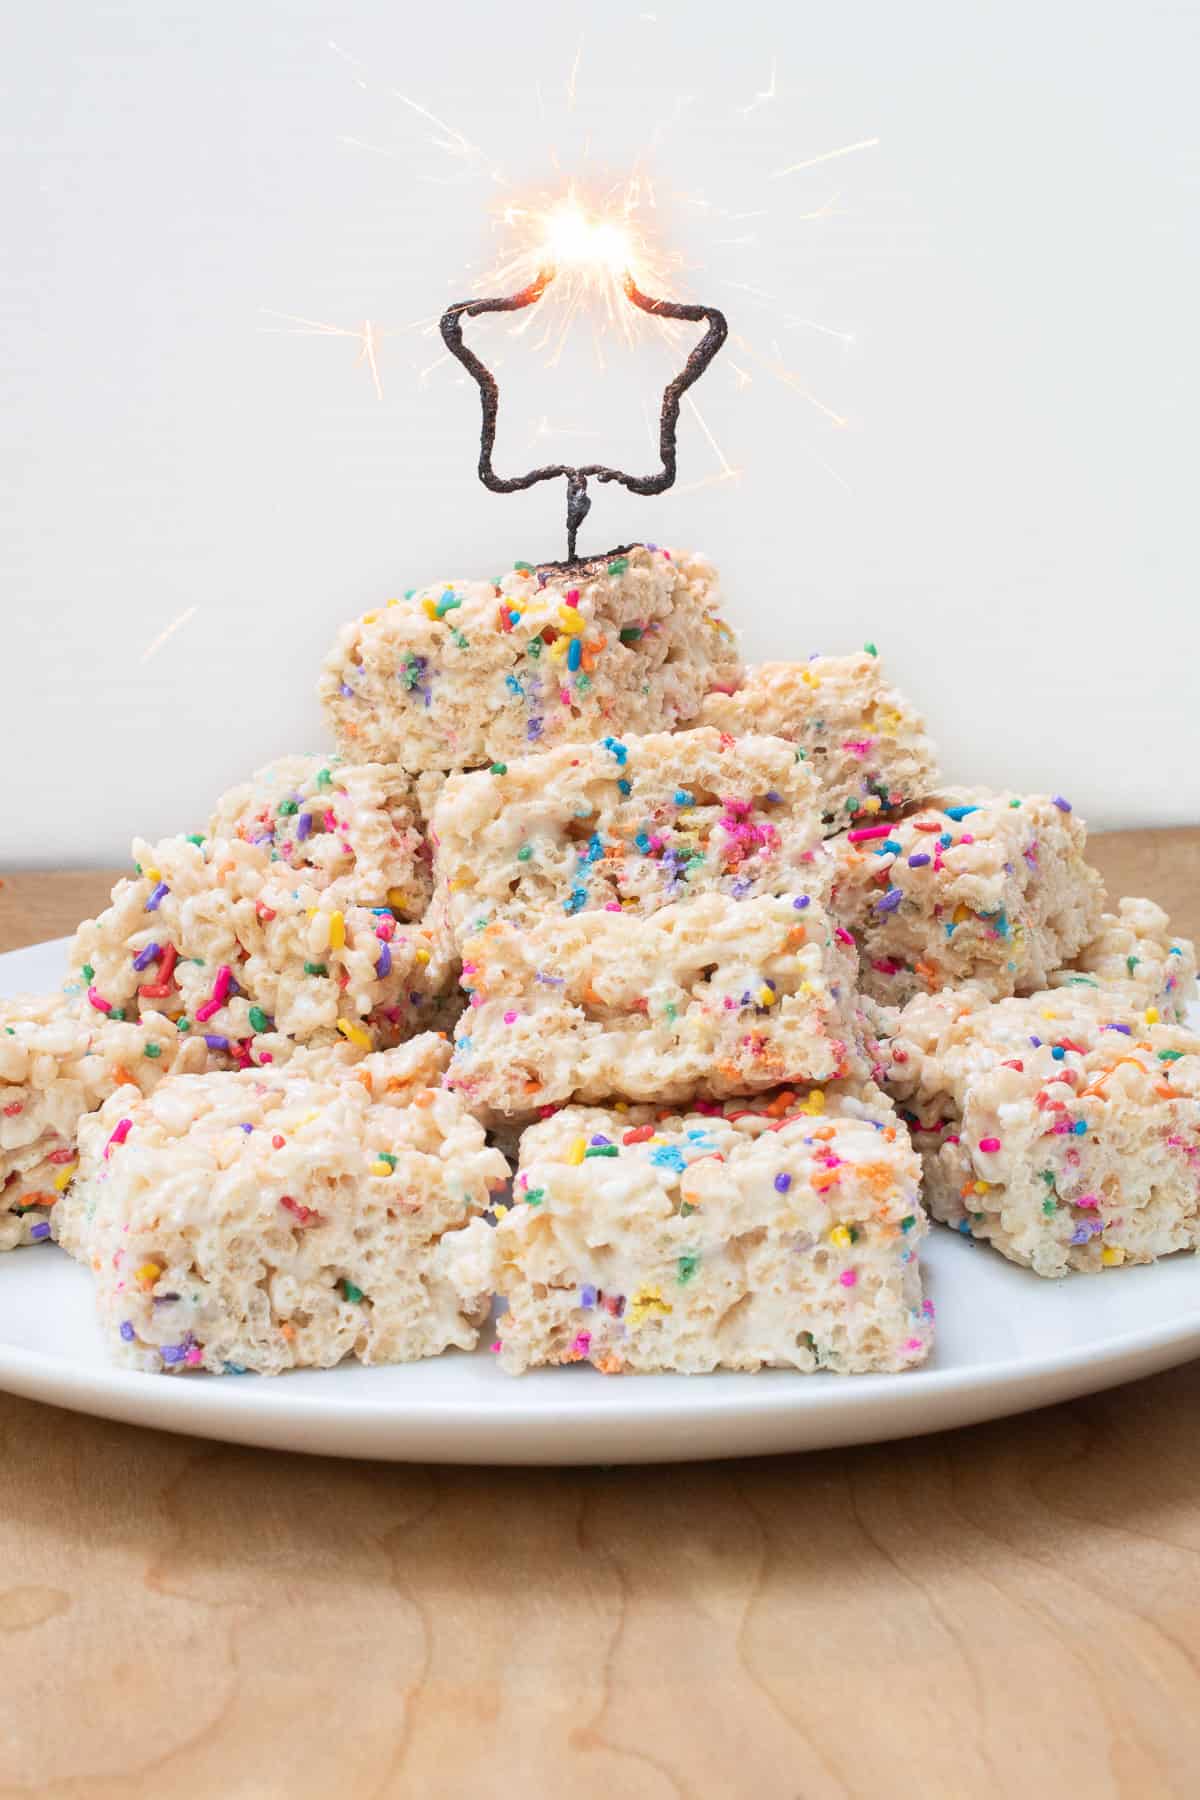
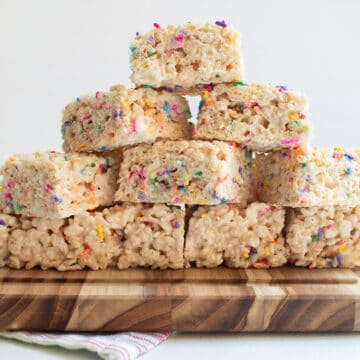
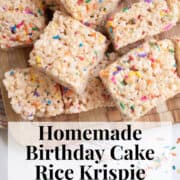
Everyone loves birthday cake flavor and this recipe for birthday cake Rice Krispie treats has all of those flavors plus SPRINKLES! It's packed with colorful sprinkles which add so much fun to an easy no-bake snack.

Rice cereal treats are a big hit in our house, and they are so easy to throw together last-minute when you want to bring something special to a gathering of friends. They have that classic birthday cake flavor but require no cake mix whatsoever.
Just like my browned butter pecan Rice Krispie treats, these have just a bit of sweetened condensed milk. This "secret ingredient" makes them soft and chewy and they stay that way for a few days!
These treats make a big batch for a crowd, just like my Soft Chocolate Chip Cookie Bars!
Jump to:
Ingredients
I include ingredient notes here when I think they'll be helpful, including ways to source, any preparation tips, or why I've chosen a particular ingredient. Be sure to check out the recipe card below for the full list of ingredients and their quantities!
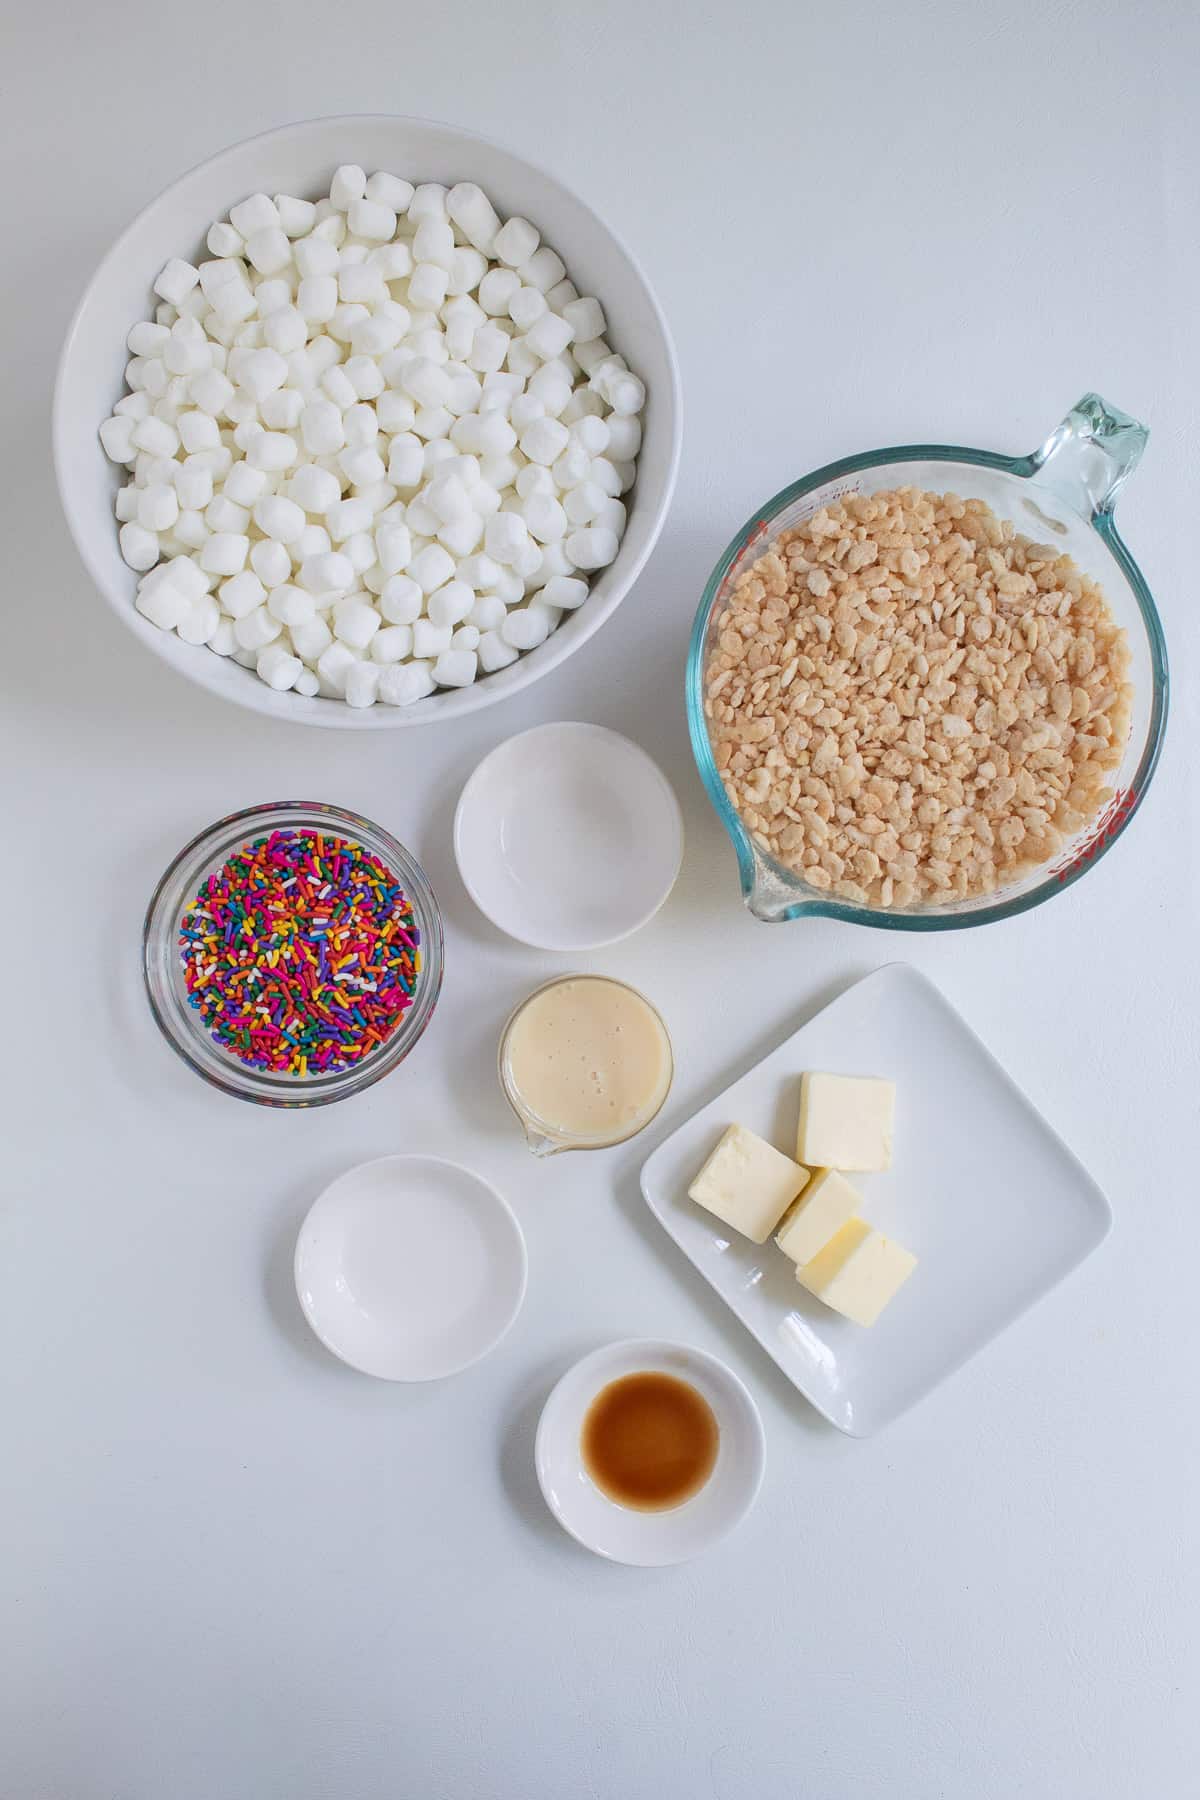
- Salted Butter - I use salted butter for many of my recipes and get mine from Costco. If you are using unsalted butter, add ⅛ a teaspoon of salt to the butter when you are melting it.
- Mini Marshmallows - Using mini marshmallows means that they melt faster, helping you avoid overheating the mixture.
- Sweetened Condensed Milk - Just a bit of this thickened and sweet canned milk will ensure that your treats are soft and chewy and stay that way for a few days.
- Extracts - A combination of butter extract, almond extract, and vanilla extract create the classic birthday cake flavor. You can find all of these at a well-stocked supermarket.
- Crisp Rice Cereal - This is my favorite cereal for these treats, the light and crispy cereal contrasts so well with the soft and sweet marshmallow mixture. Use Rice Krispies or any other crisp rice cereal.
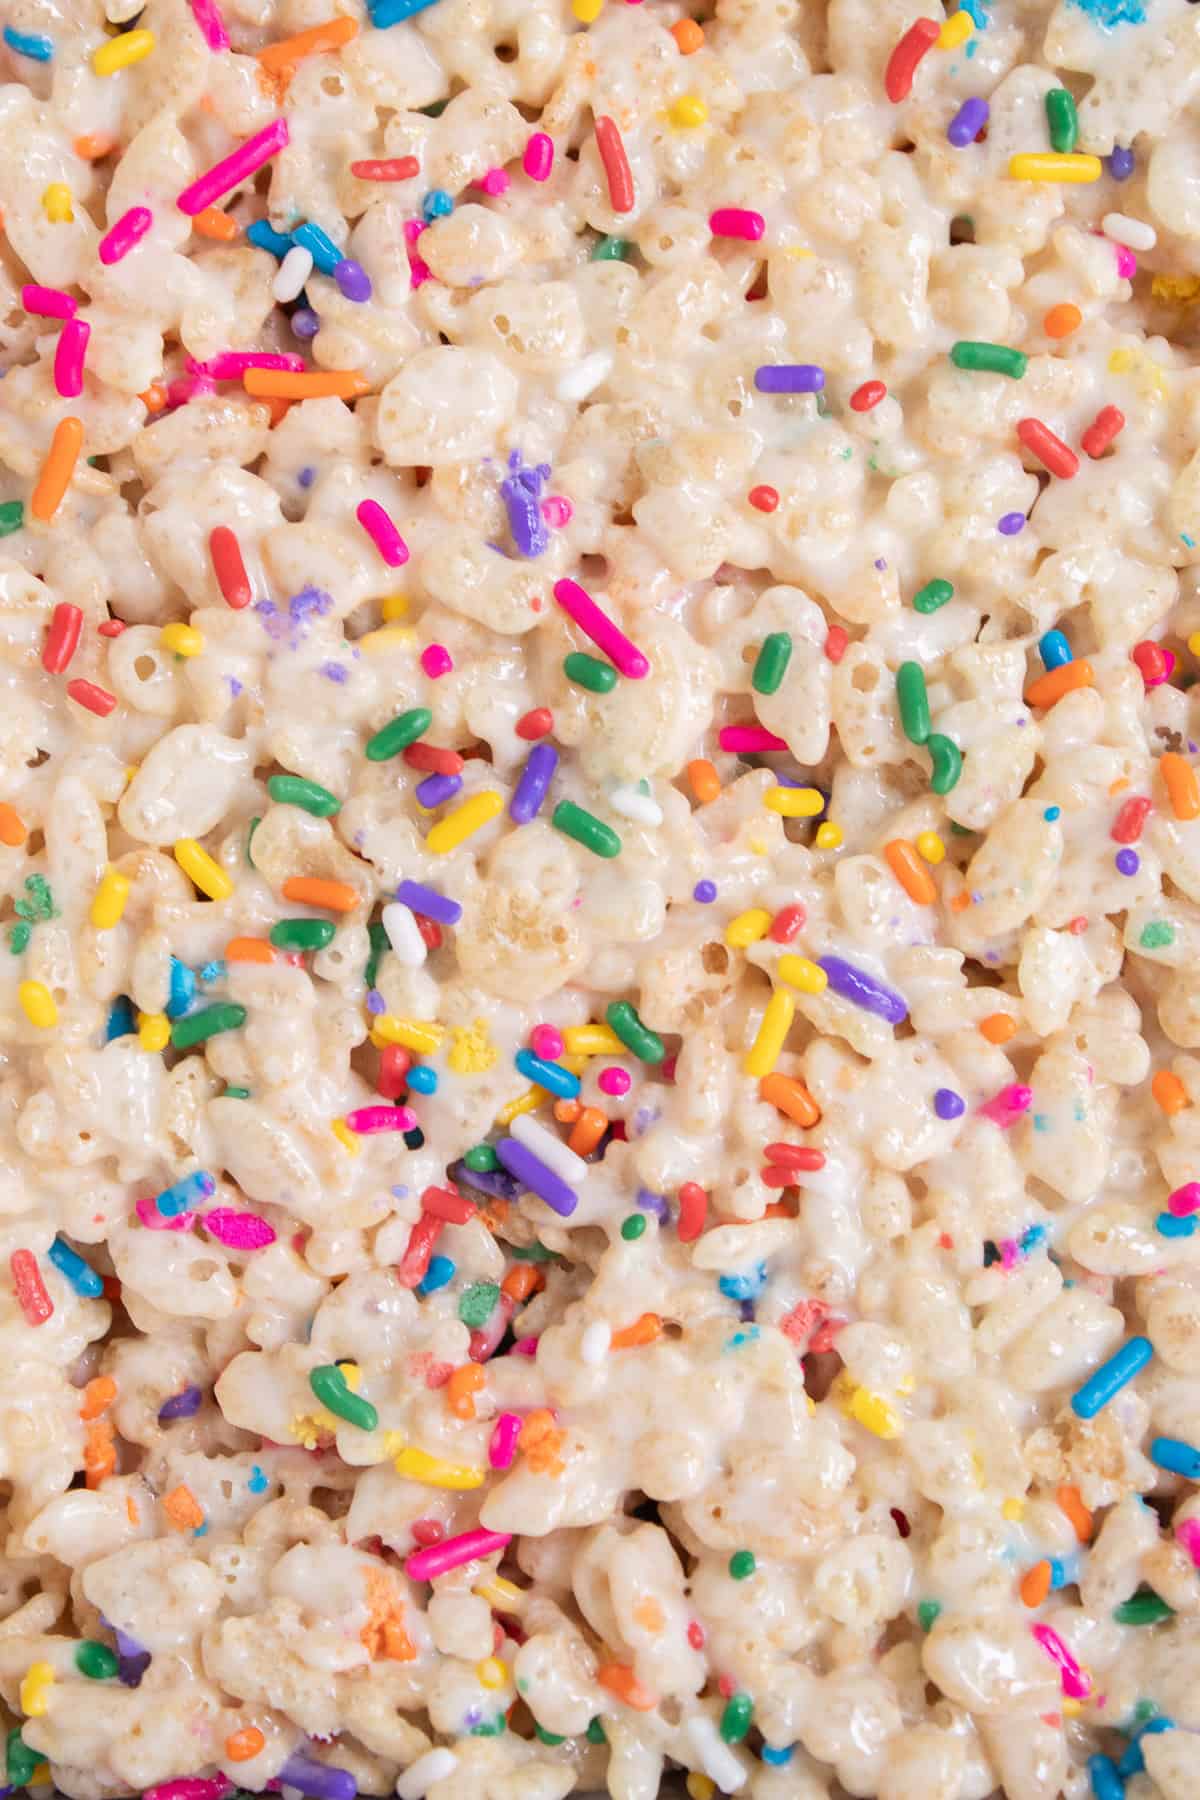
- Sprinkles - Make sure to use the waxy rod-shaped sprinkles, sometimes called "jimmies" and not the spheres, or nonpareils. The nonpareils will bleed their color into the marshmallow mixture and you'll end up with gray treats. Not ideal! Jimmies are great for these birthday cake pancakes, too!
Instructions
These treats come together in less than 10 minutes, but do require some cooling time. Line a pan with parchment paper and spray it with cooking spray.
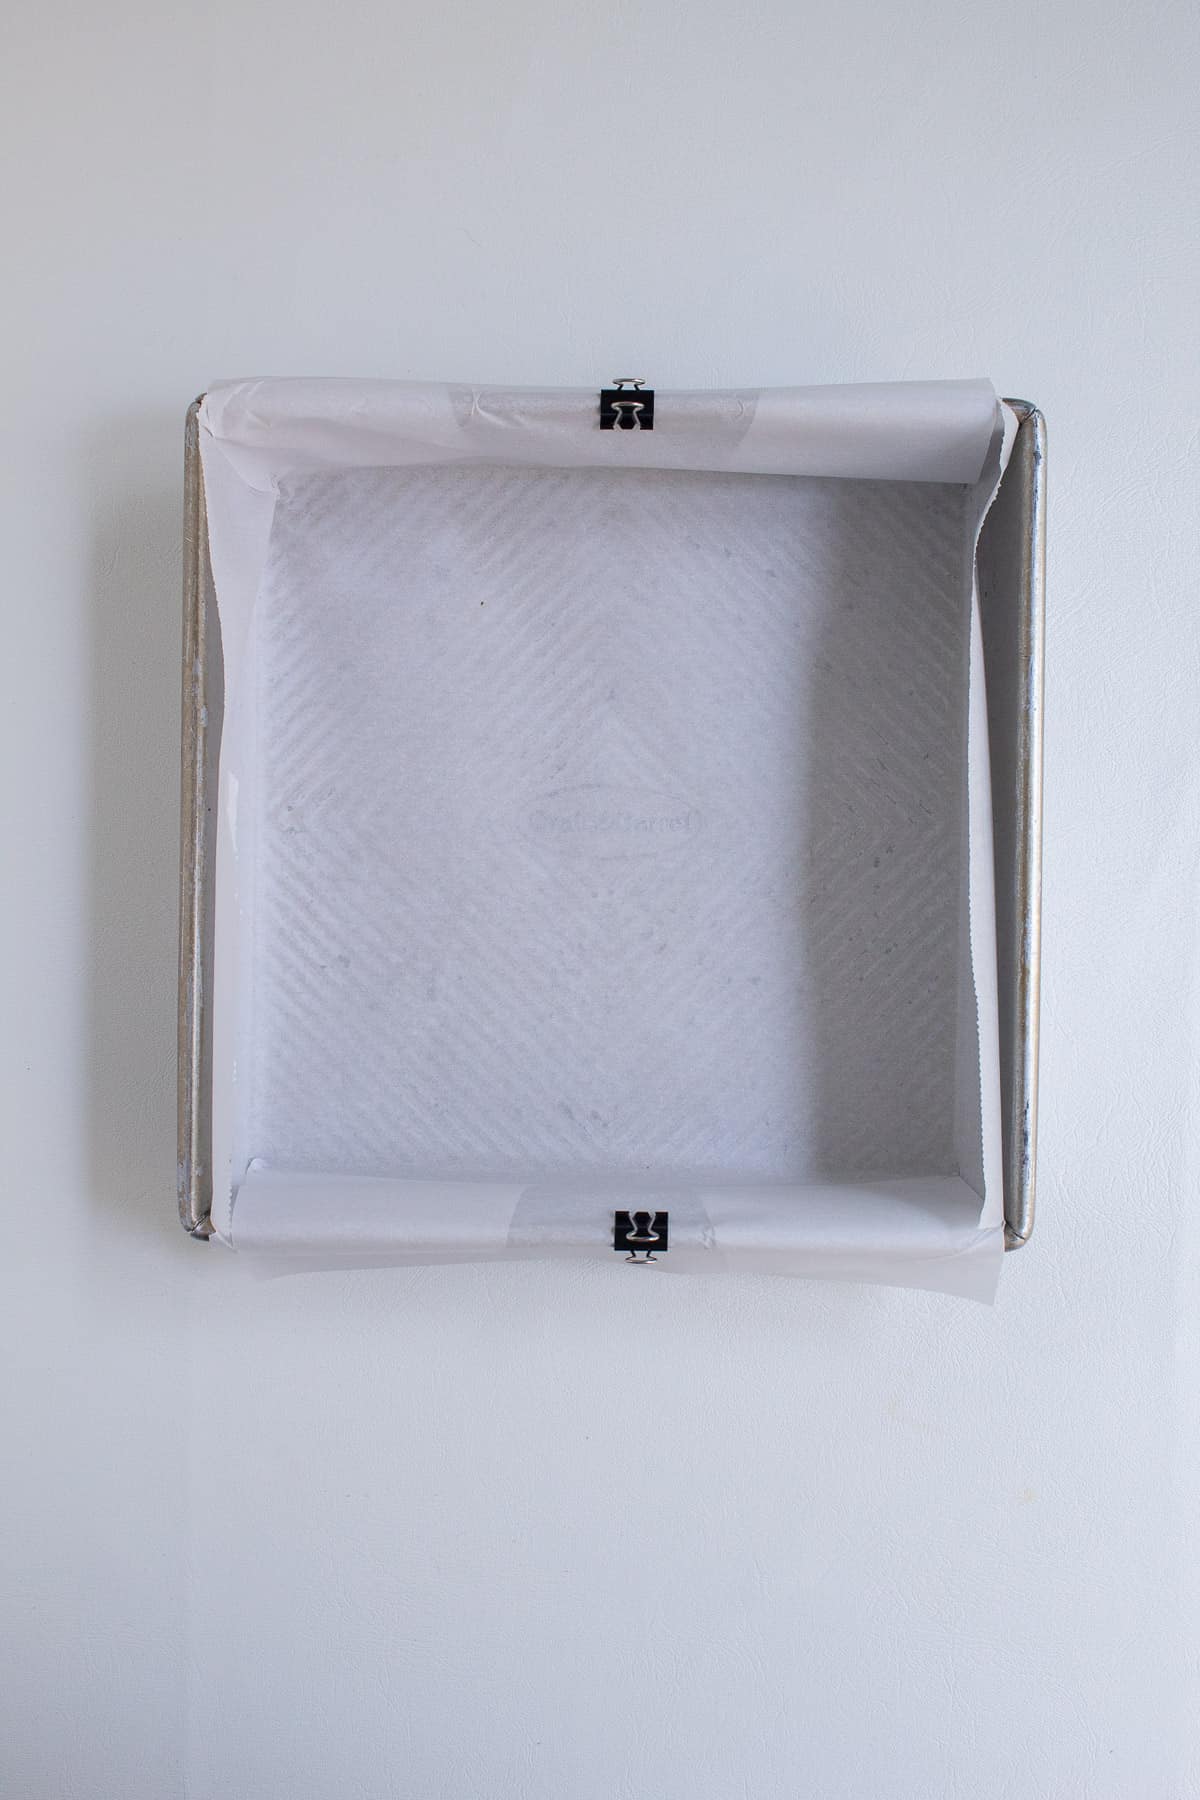
Hint: Check out this quick tutorial for how to line a baking pan with parchment paper so that all sides are covered and the parchment sits neatly in the pan.
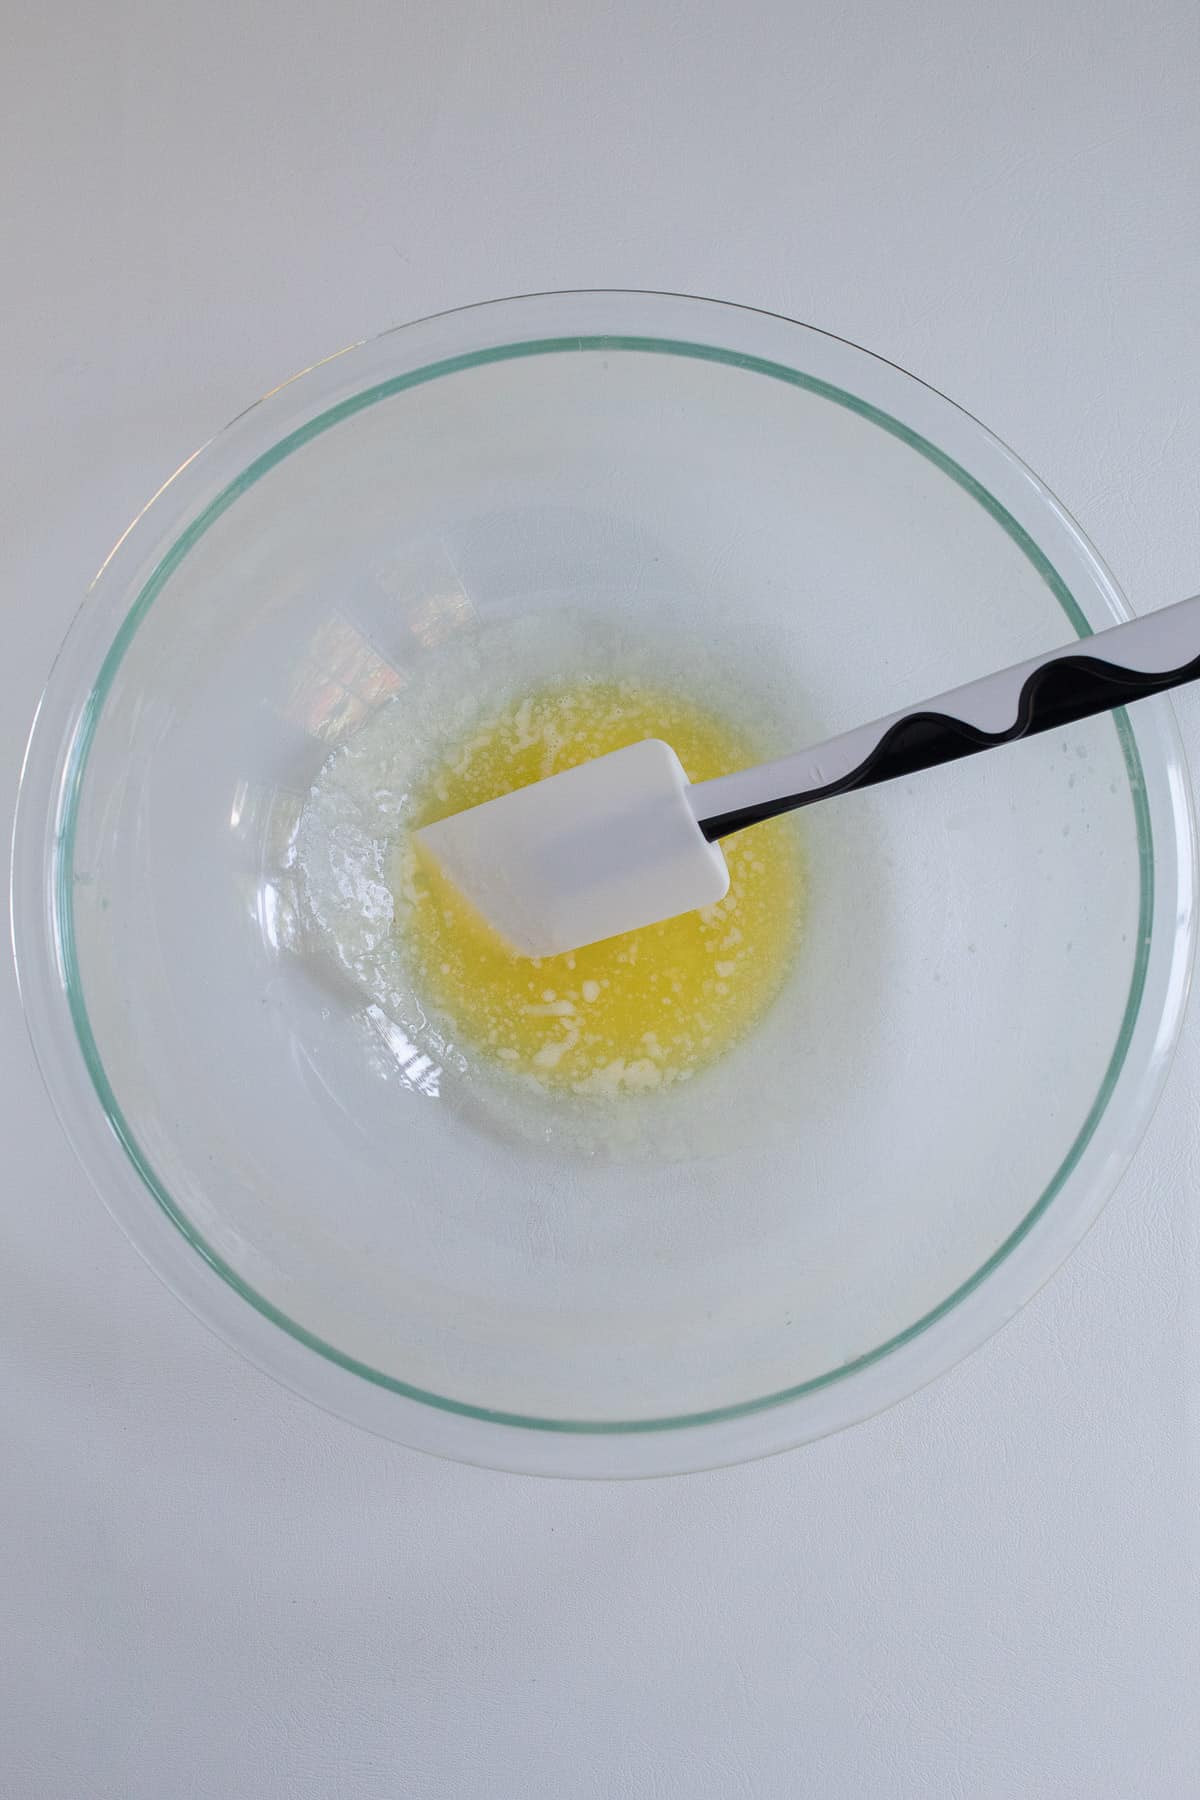
Melt the butter in a large microwave-safe bowl, microwaving it for about 30 seconds on high power.
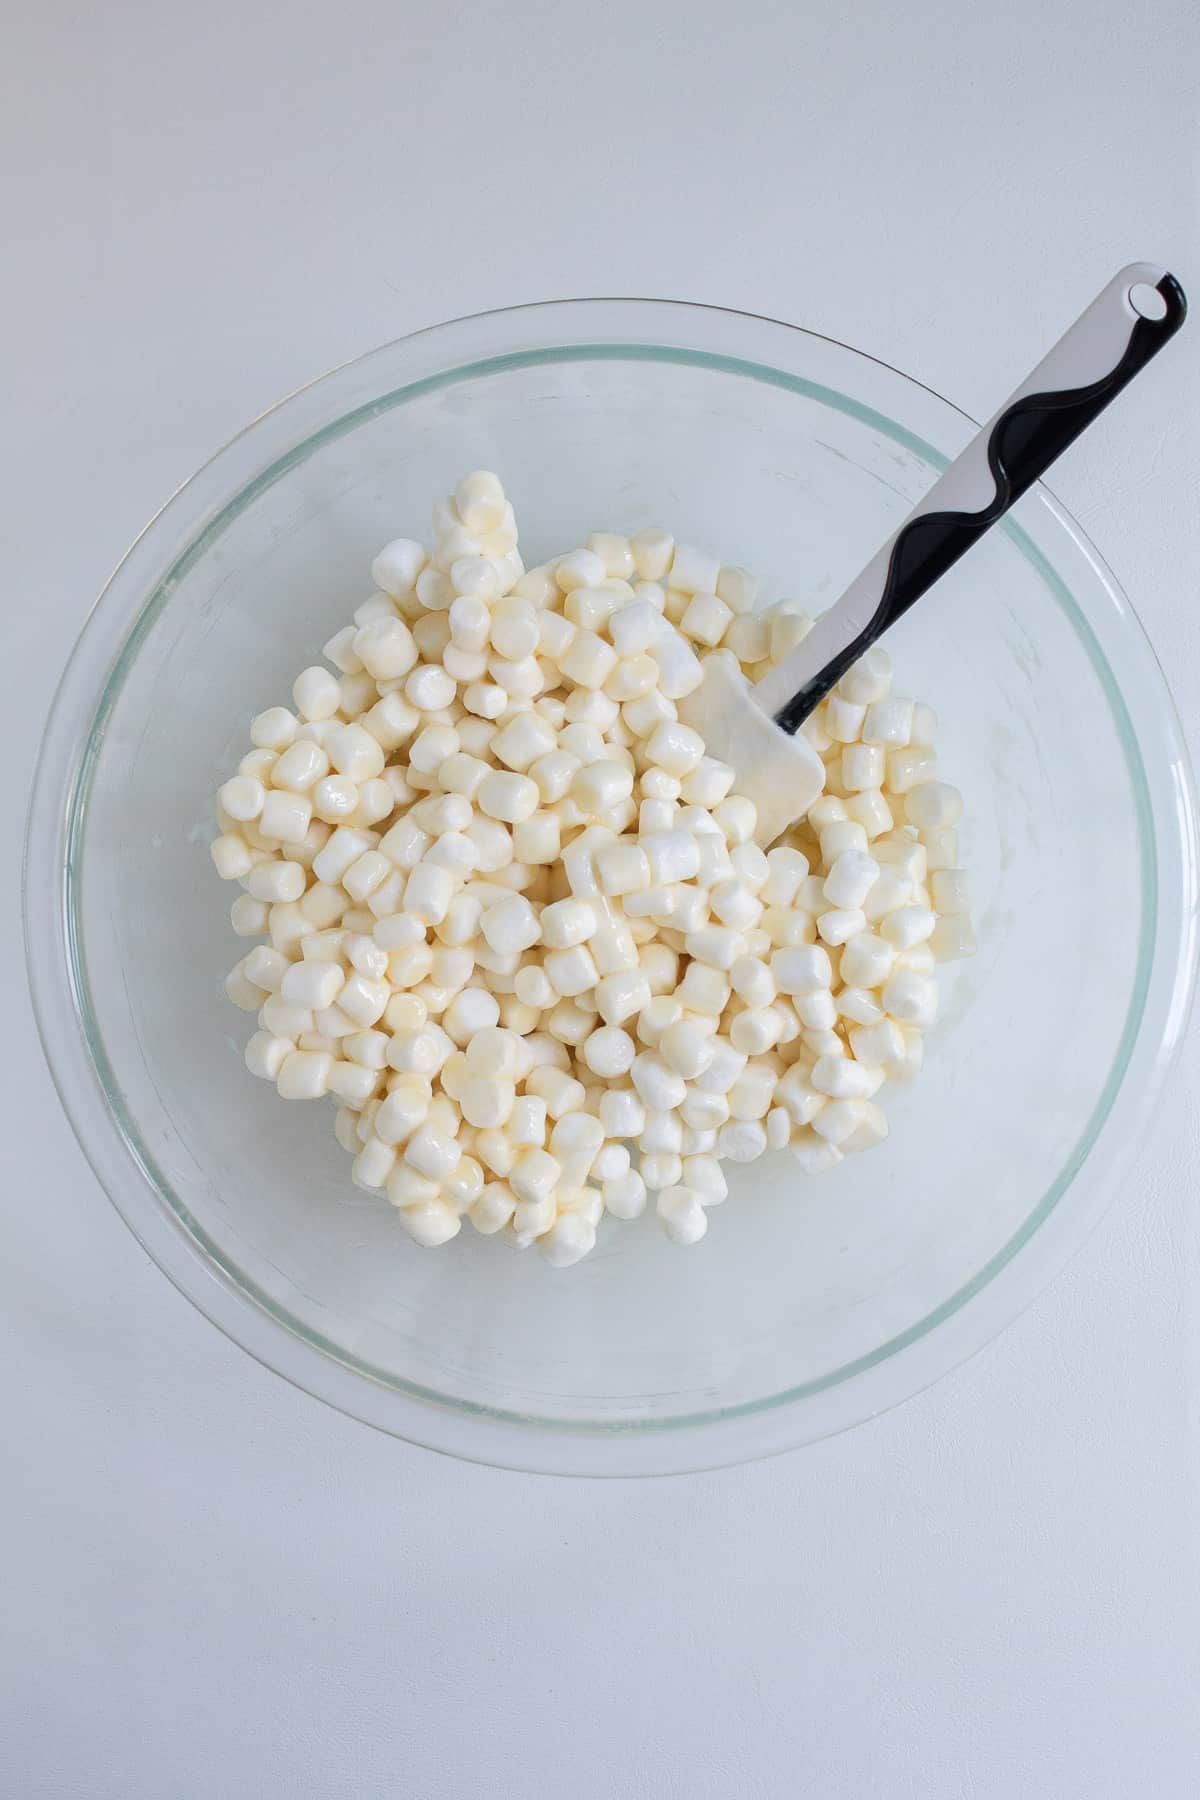
Add the extracts, sweetened condensed milk, and the marshmallows and stir everything well to coat the marshmallows.
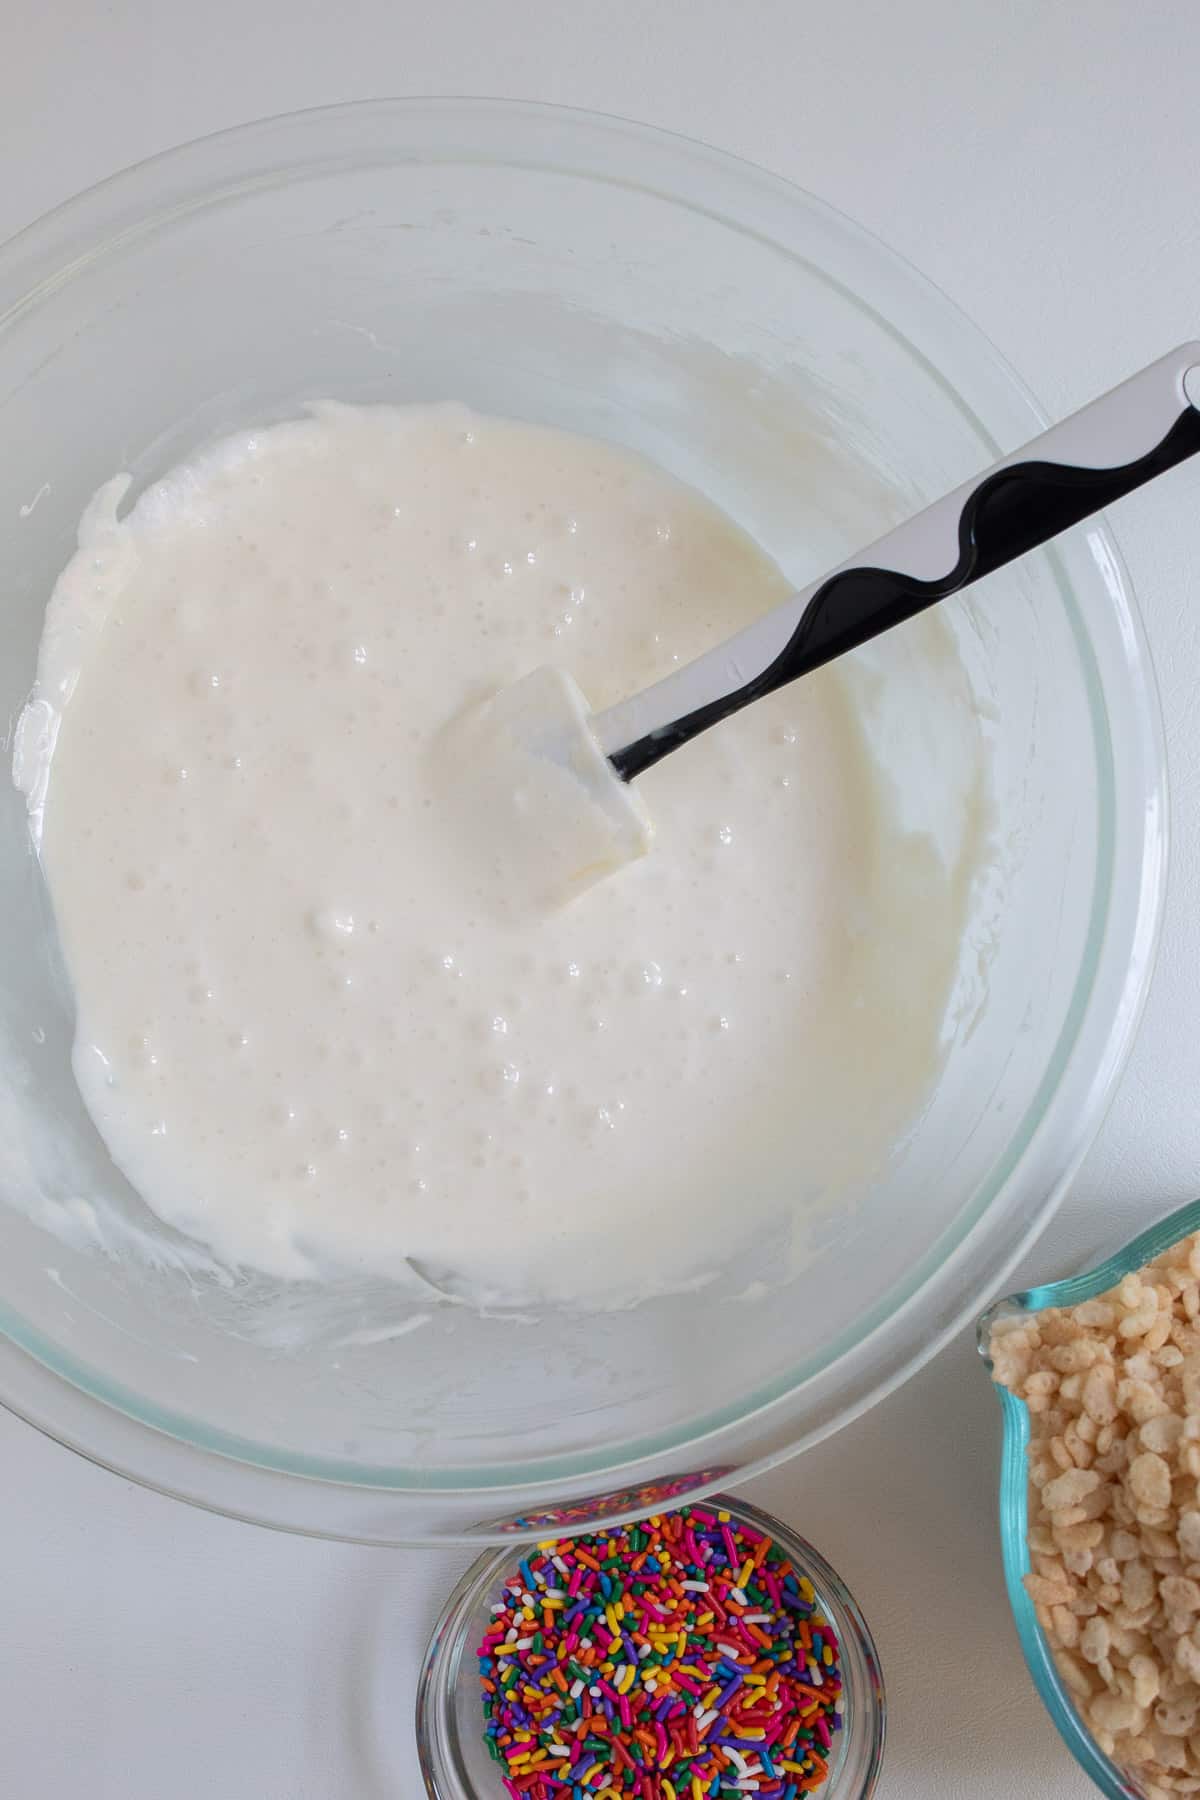
Microwave the marshmallows in 30-second increments, stirring well after each burst of heat. Cook and stir until you have a smooth mixture, but microwave the mixture as little as possible.
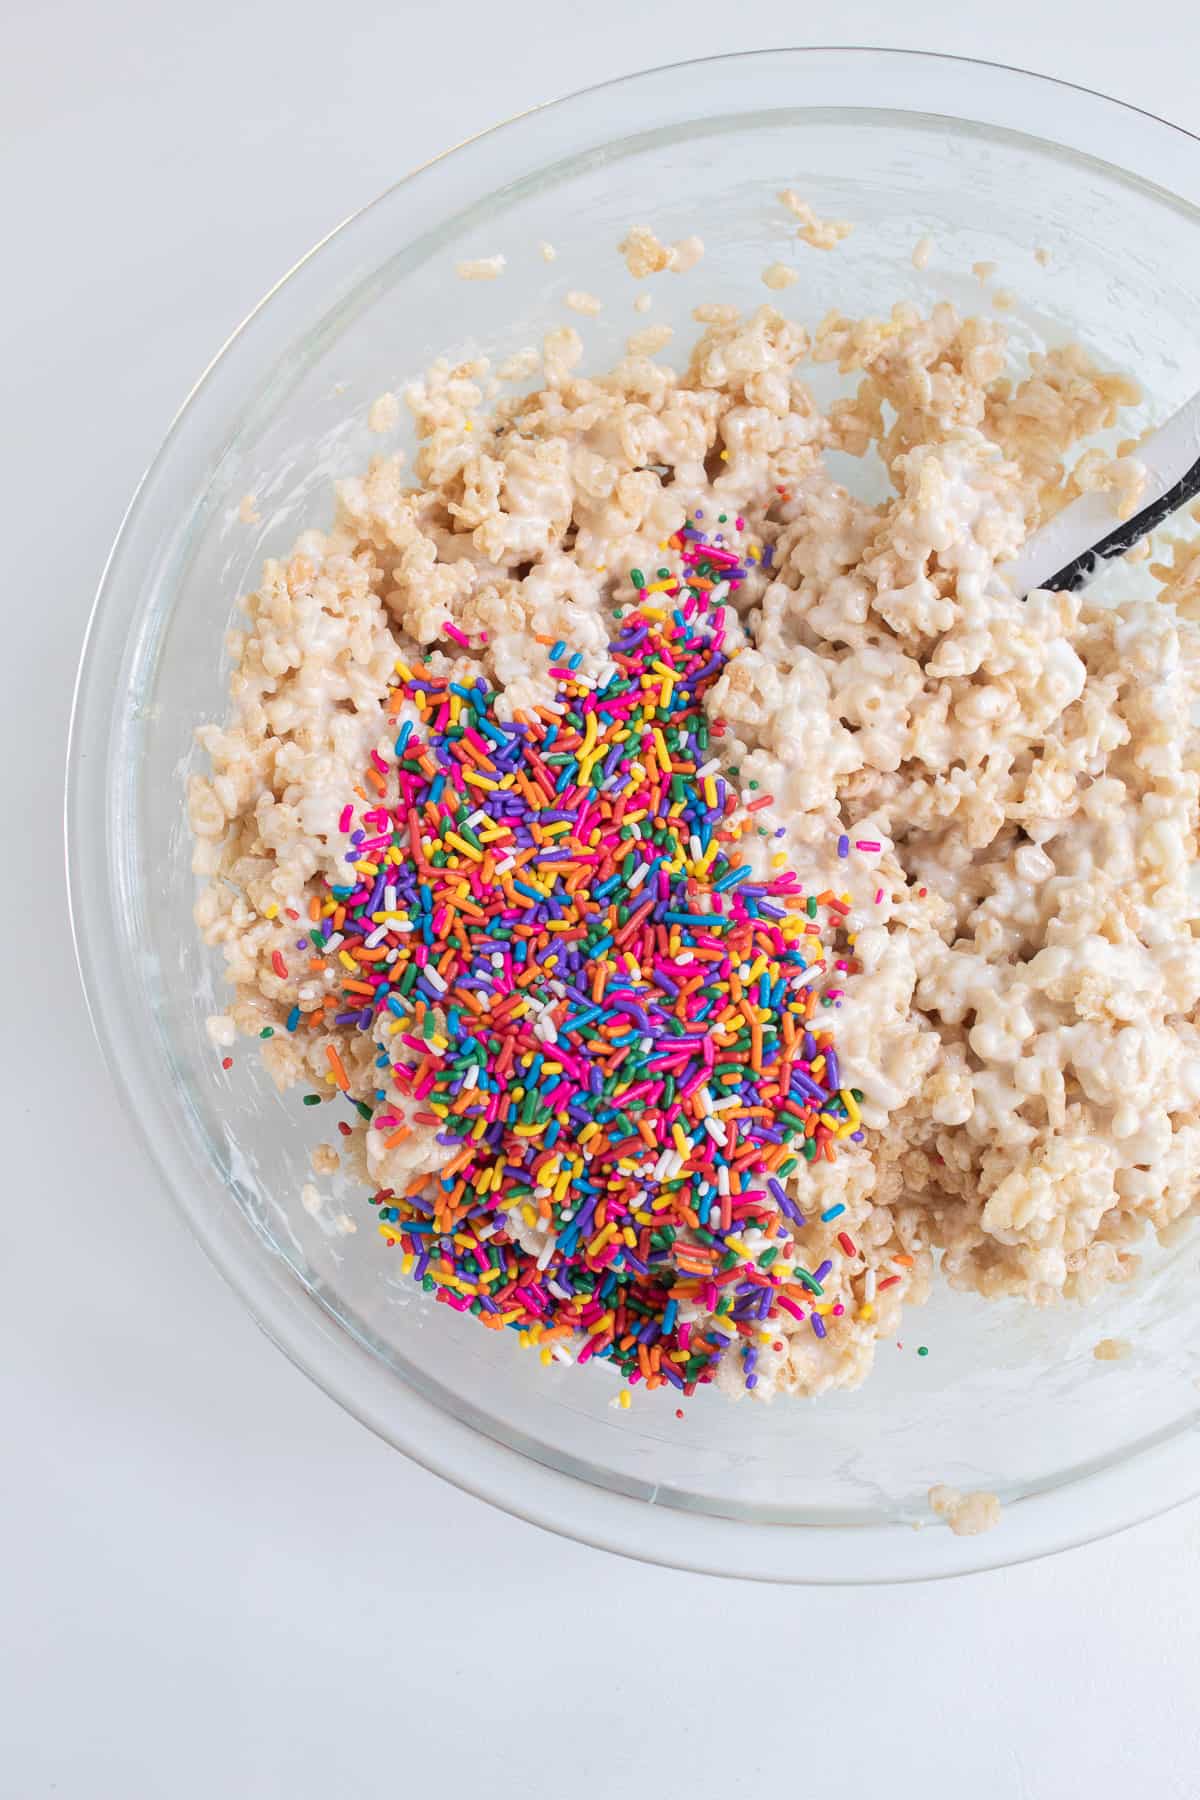
Add in the rice cereal and stir the mixture to coat the cereal evenly. Allow the mixture to cool for 2 minutes before adding in the sprinkles and stirring to distribute them evenly.
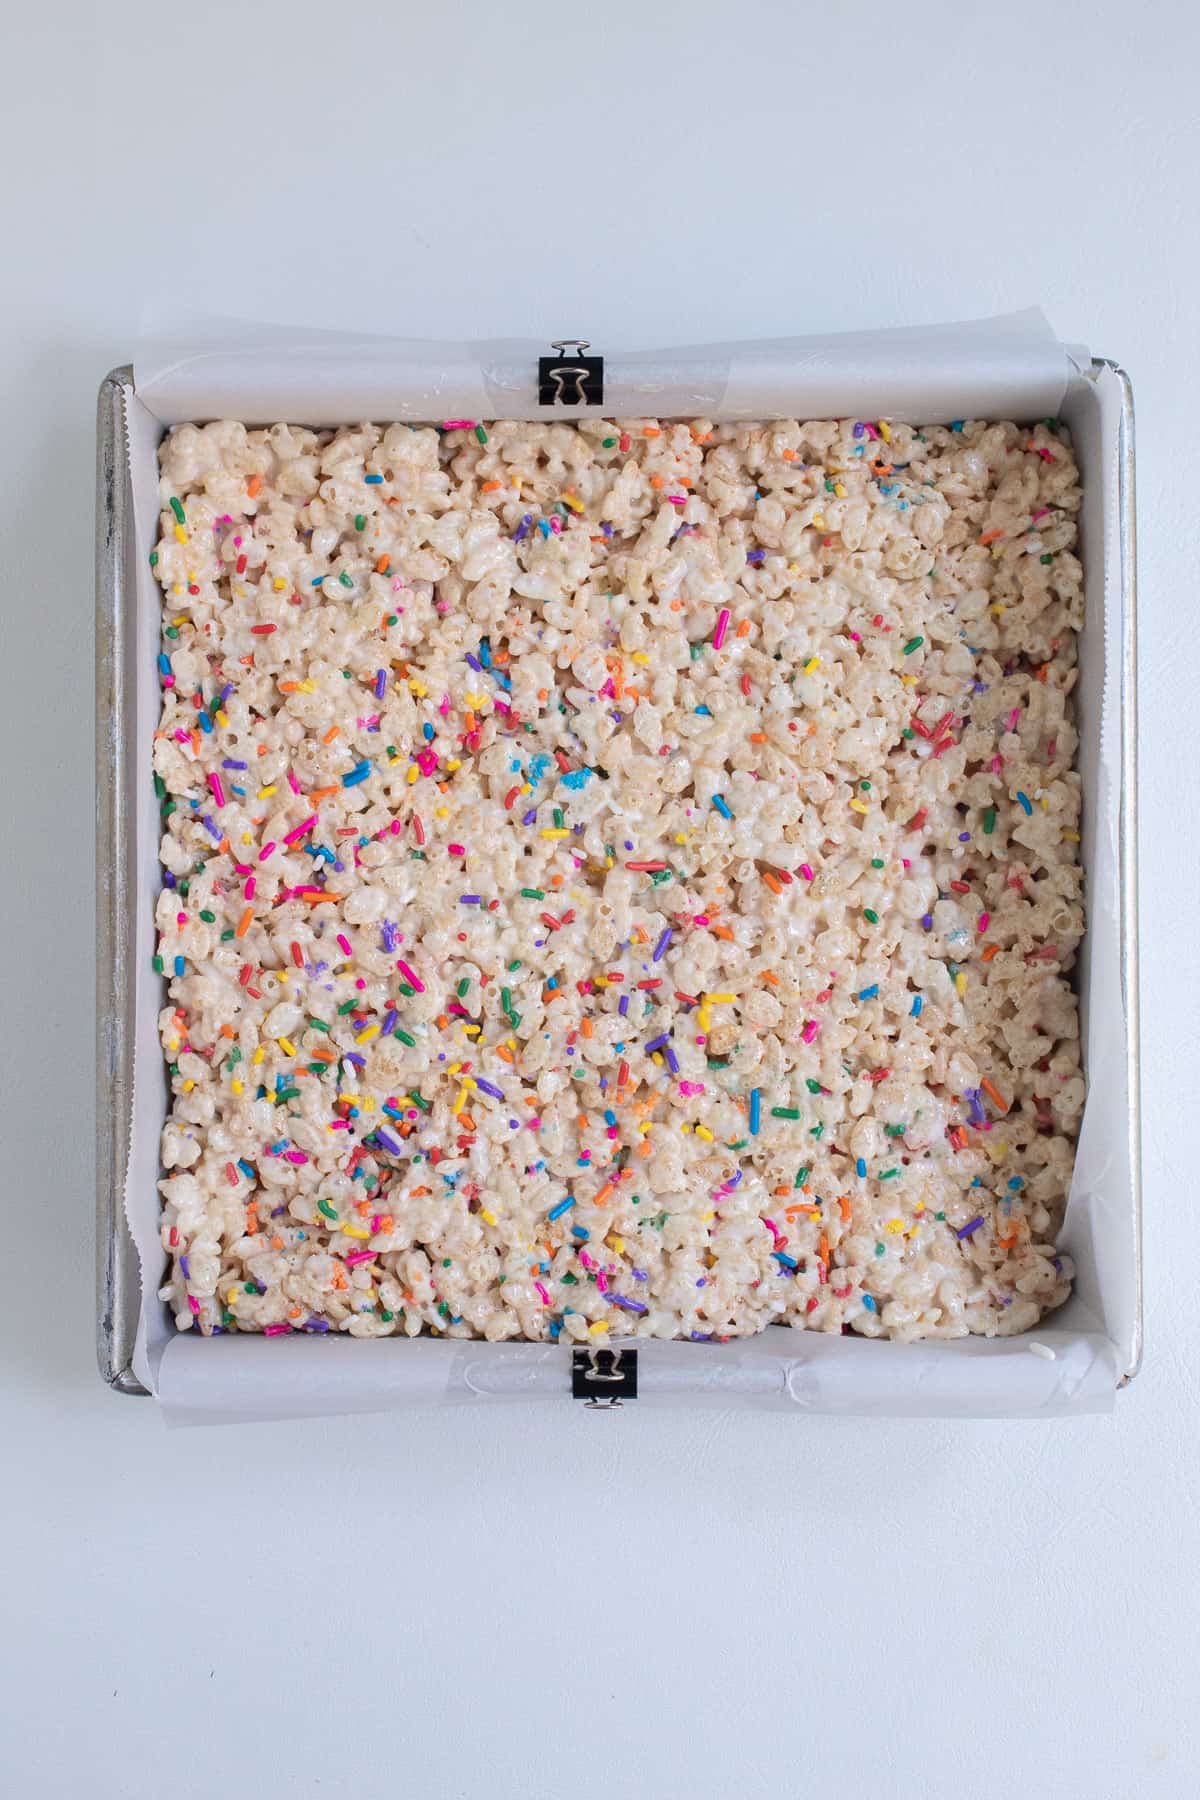
Press the cereal mixture into the pan, forming an even, compact layer. Add additional sprinkles over the top if desired, and then allow the treats to cool for 30 minutes.
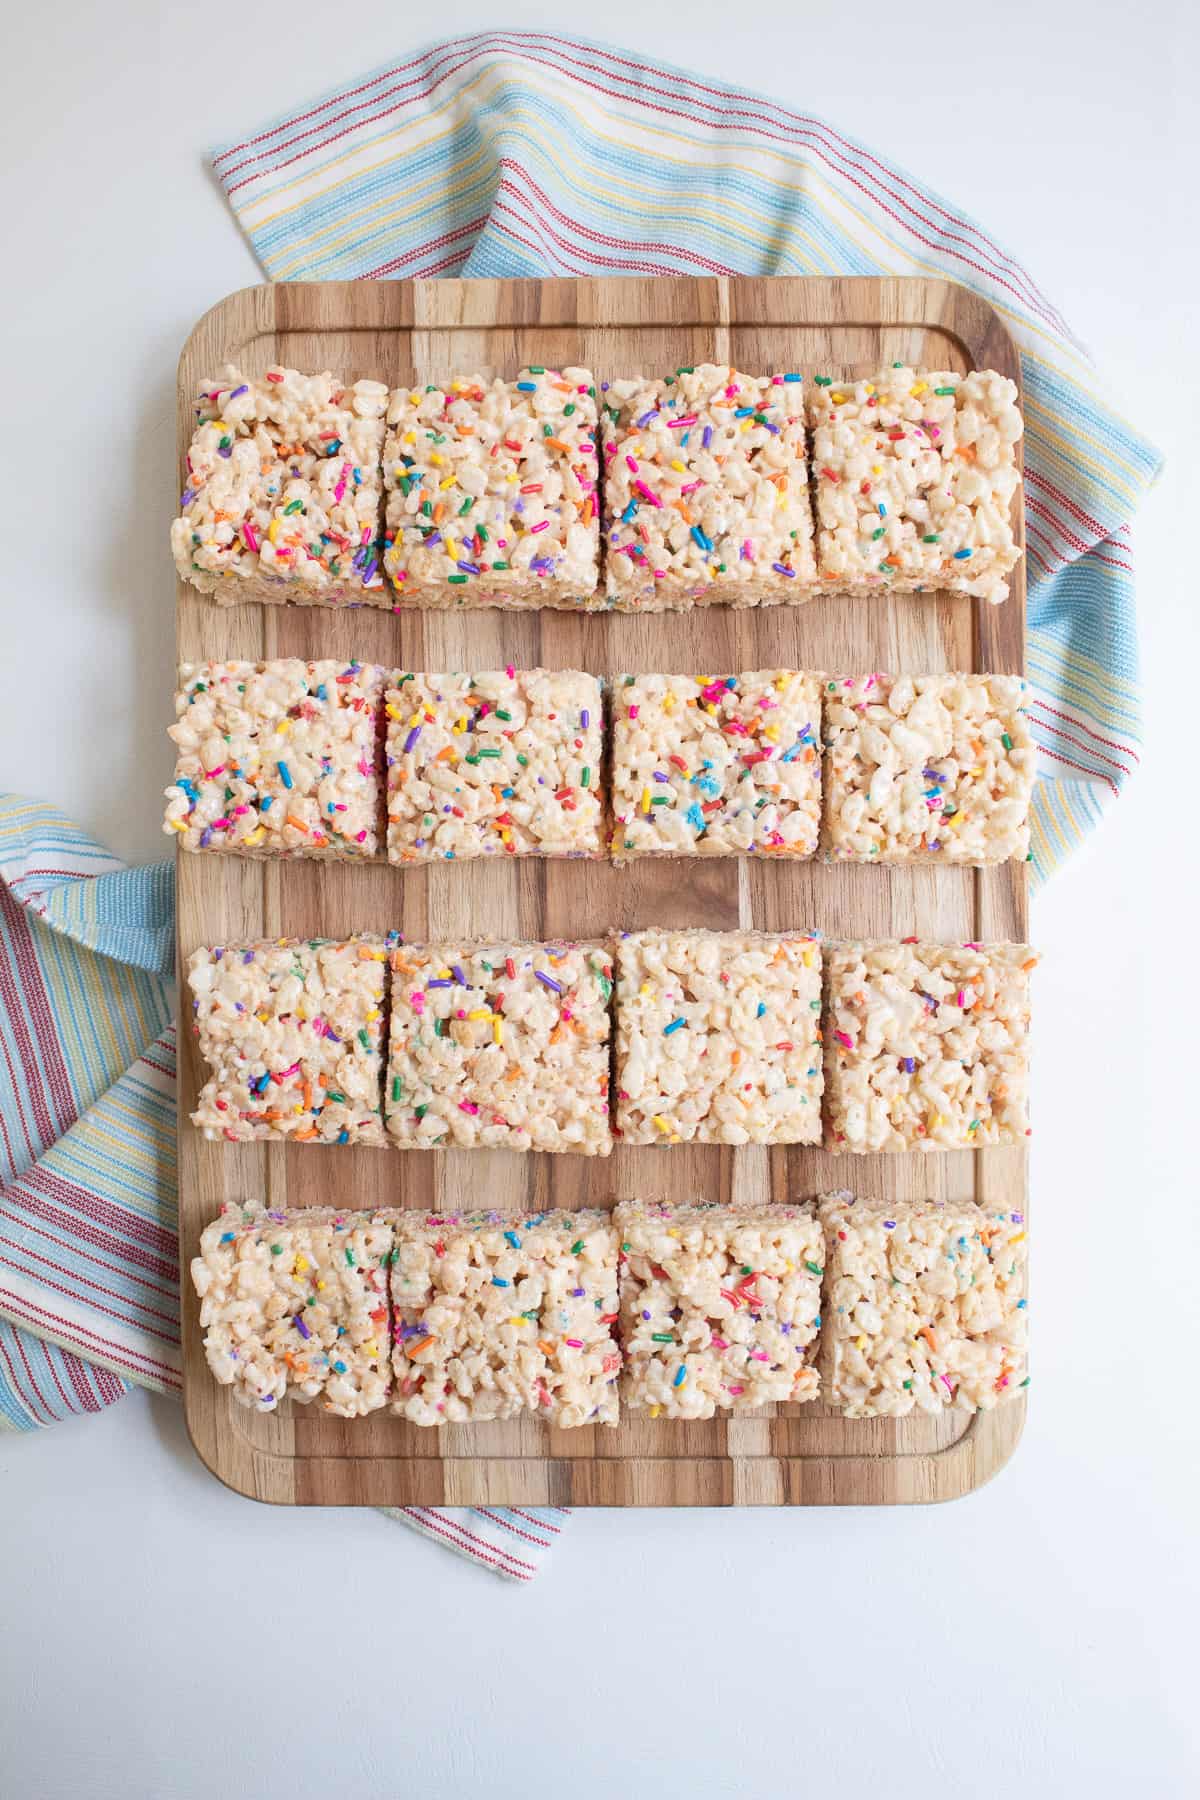
Remove the treats from the baking pan and transfer them to a cutting board. Slice them into 16 squares.
Top tip
Overcooking the marshmallow mixture can result in treats that are tough and not nearly as enjoyable to eat. Cook the marshmallows only enough to melt the mixture, a few leftover marshmallow lumps are fine.
Stovetop Instructions
You can prepare these birthday cake rice krispie treats on the stovetop as well. Heat a large saucepan (at least 3 quart-size) over medium heat. Add the butter and heat until fully melted. Remove the pan from the heat and stir in the marshmallows, sweetened condensed milk, and extracts.
Stir, using the residual heat to melt the marshmallows into a smooth mixture. Place the pan back on medium heat, if needed, to get everything fully melted. Pour the marshmallow mixture over the rice cereal in a large bowl and stir to coat the cereal. Allow the mixture to cool for two minutes before stirring in the sprinkles. Proceed with the directions above for the remainder of the steps.
Variations
Feel free to make changes to the recipe as outlined below for a fun twist on these treats:
- Change the Cereal - Use toasted oats cereal (like plain Cheerios), plain cornflakes, or corn puffs (like Kix) instead of the crispy rice cereal.
- Add Some Color - Put a few drops of food coloring into the marshmallow mixture to make tinted treats.
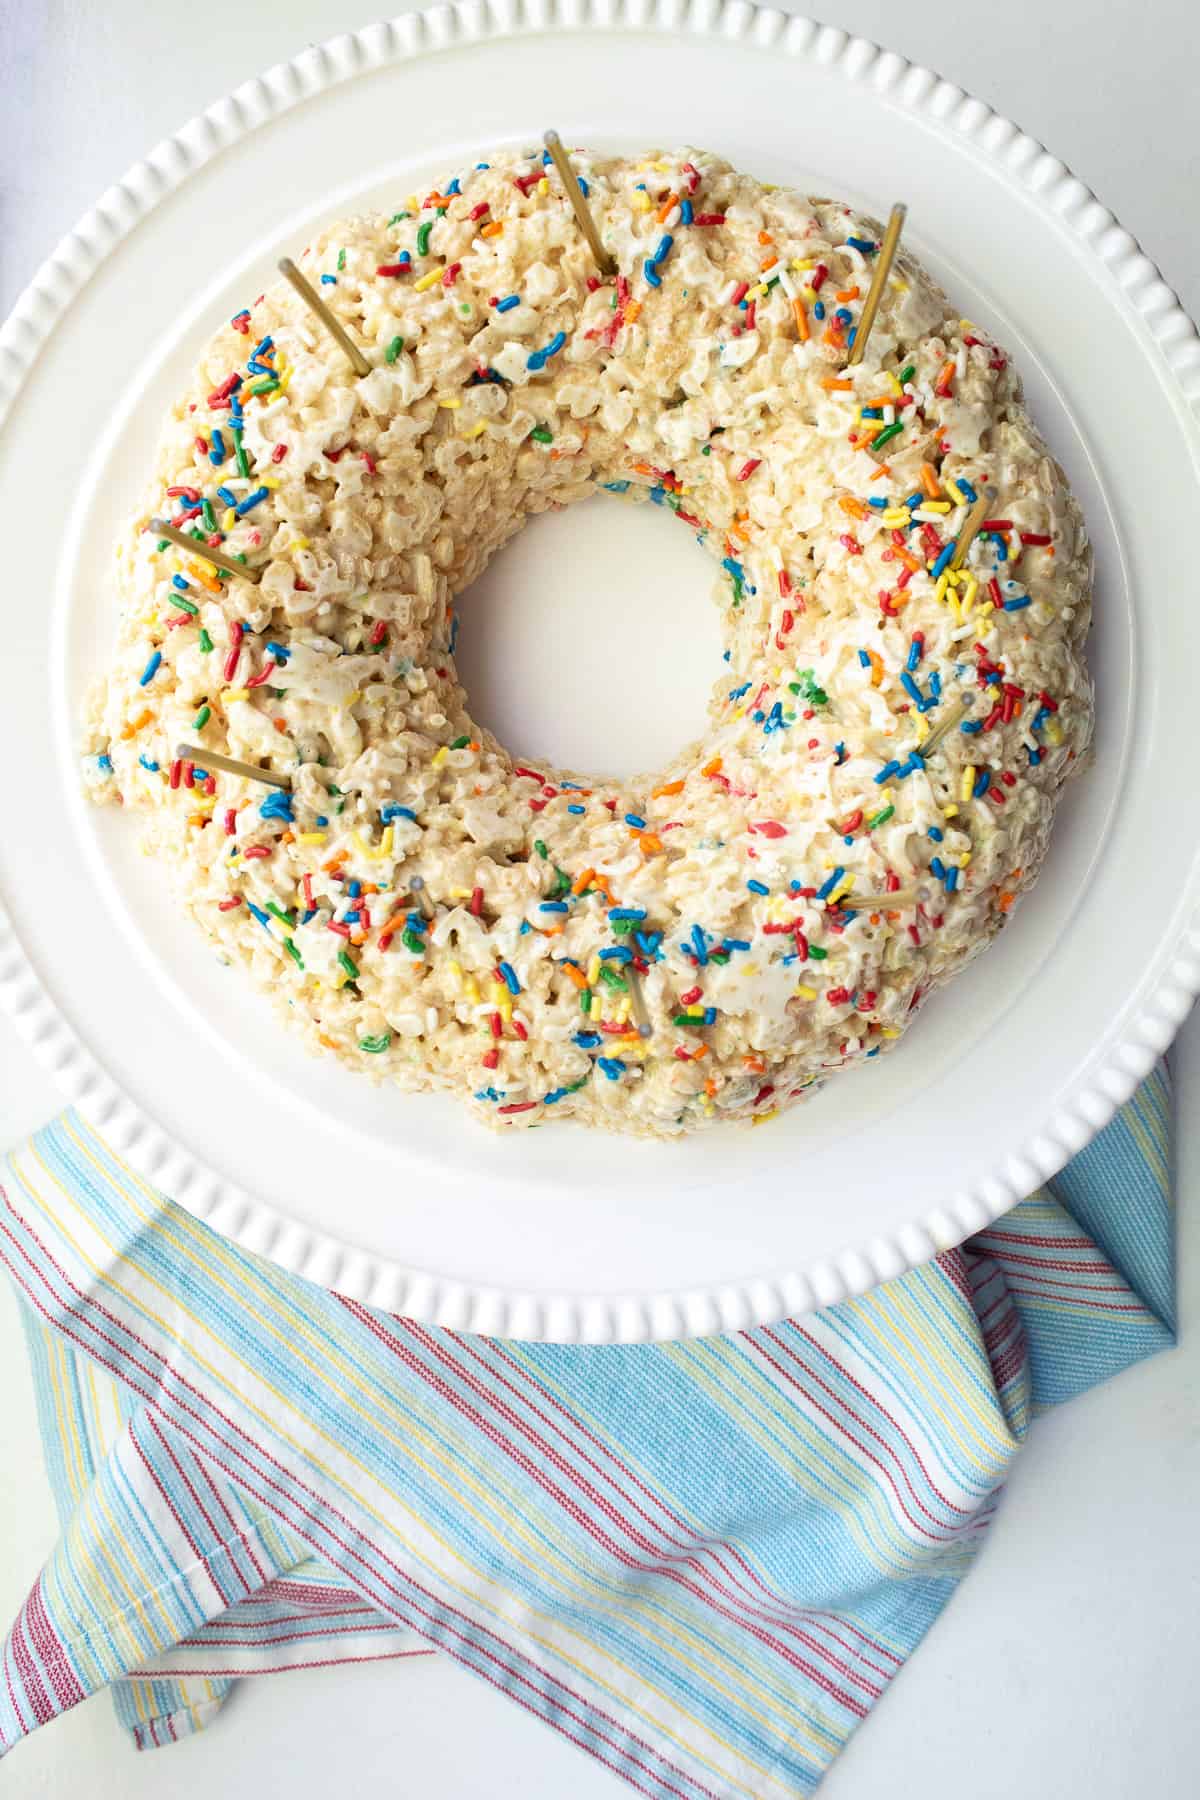
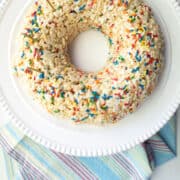
- Make a Rice Krispies Cake - Instead of a parchment-lined pan, spray a Bundt pan generously with cooking spray (don't forget the center core!) and press the cereal mixture into the pan. Allow it to cool and then use a flexible spatula to press the edges in toward the center to loosen the cake. Unmold the pan over a cake stand or a large plate.
Tips for Sticky Situations
Making Rice Krispie treats is a sticky process. Here are some tips to help keep it simple:
- Use cooking spray on your hands and your spoon or flexible spatula whenever touching the marshmallow mixture.
- The butter wrapper can be a great tool for pressing the cereal mixture into the pan. Simply use the buttered side towards the sticky mixture when compacting the mixture into the pan.
- Lightly wet your fingertips when pressing the cereal mixture into the pan.
Storage
Store the sliced treats in an airtight container or wrap them with plastic wrap. They can be stored at room temperature for up to three days. You can also store the treats in the refrigerator, but I prefer them at room temperature for serving for best flavor and texture.
FAQ
Slice the treats with a sharp knife and rinse the blade with water in-between each slice to get the sharpest edges. I keep a wet washcloth nearby and swipe the sticky mixture off the blade with each cut.
Extra canned sweetened condensed milk can be stored in the refrigerator once you transfer it to a small airtight container. Stir it in to coffee, drizzle it on granita or shaved ice desserts, or spoon it over fresh fruit.
I have seen plenty of advice that says you can freeze these treats for up to two months, but I think the soft and chewy texture is affected and prefer them fresh from the countertop.

Other Dessert Recipes to Feed a Crowd
Making treats in a baking pan is an easy way to get a batch that feeds a crowd. Here are some other recipes for bars you'll want to try next:


Pairing
These recipes are kid favorites that would be a great pairing with a birthday cake Rice Krispie treat for dessert:


Try Them and Share
I hope you make these Homemade Birthday Cake Rice Krispie Treats and share the recipe with family or friends. I want to see your results! Tag your photo with #planeatpostrepeat and mention me @planeatpostrepeat on Instagram or Facebook. I can give you a virtual high five and thank you for cooking one of my recipes! Comment below with any questions and please leave a review so others can find this recipe more easily.
Recipe
Homemade Birthday Cake Rice Krispie Treats
Ingredients
- 4 tablespoon butter, salted
- 10 oz. mini marshmallows
- ¼ cup sweetened condensed milk
- ¼ teaspoon butter flavored extract
- ⅛ teaspoon almond extract
- ½ teaspoon vanilla extract
- 6 cups crisp rice cereal (e.g. Rice Krispies)
- ½ cup sprinkles
Instructions
- Line a 8- or 9-inch square pan with parchment paper and spray with cooking spray.
- Heat butter in the microwave in a large microwave-safe bowl until melted.
- Stir the marshmallows, the extracts, and the milk into the melted butter until the marshmallows are coated with the butter mixture.
- Microwave the mixture in 30 second bursts, stirring in-between, until the mixture is smooth.
- Stir in the rice cereal until well mixed. Allow the mixture to cool for 2 minutes and then add in the sprinkles. Stir until well distributed.
- Transfer the mixture to the prepared pan and press down with greased fingers until the mixture is in a flat layer. Add additional sprinkles over the top, if desired.
- Cool the bars for at least 30 minutes at room temperature. Remove the batch from the pan using the parchment paper and slice into 16 squares using a sharp knife over a cutting board.
Notes
Nutrition facts are sometimes provided below and are calculated using an online calculator. With specific brands of ingredients and additions, omissions, or substitutions the nutrition facts may change. We encourage you to use your own nutrition facts calculator to obtain the most accurate nutrition facts for your meal.


Cassie says
I’d love to hear about how these treats brighten your day!